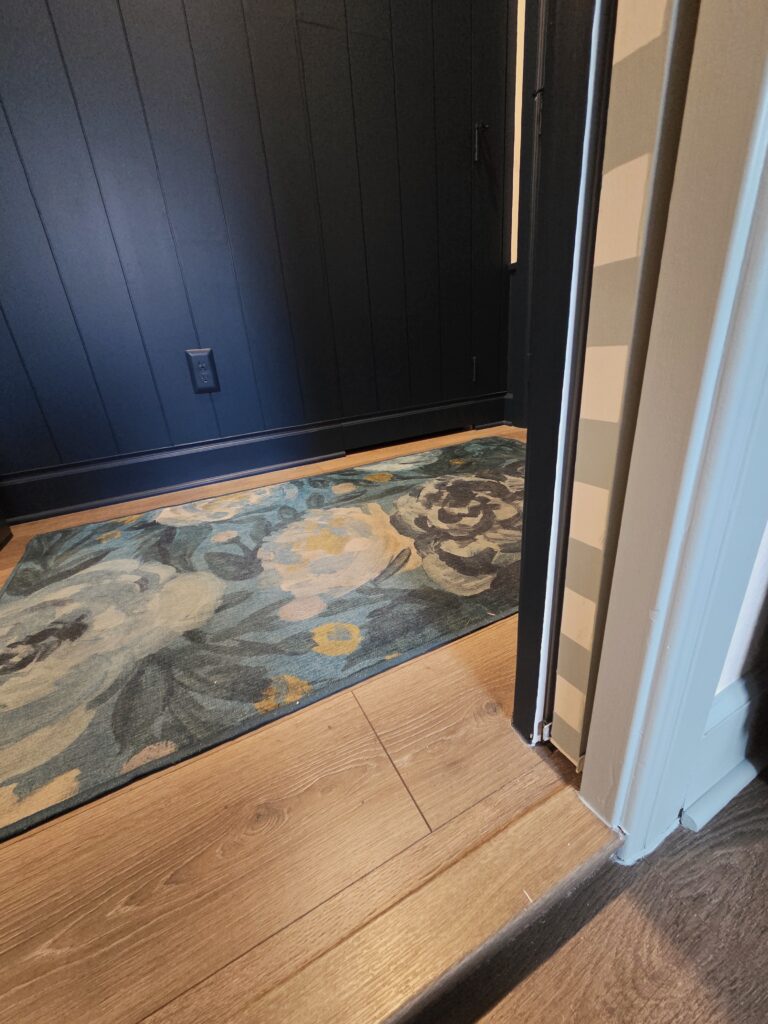
Transform your leftover wallpaper scraps into stunning paper weave art with this simple, eco-friendly DIY project. If you have extra wallpaper from a recent home renovation or room makeover, don’t throw it away! You can upcycle it into beautiful woven wall decor that adds texture, color, and personality to any space. Follow along and let me show you exactly how to cut, weave, and frame beautiful paper weave art using basic supplies you likely already have at home. Perfect for sustainable crafting, budget-friendly home decor, and creative reuse projects.
Just a quick note before we dive in: This post contains Amazon affiliate links. That means if you click on any of the links and make a purchase, I may earn a small commission — at no extra cost to you. It helps support this blog and lets me keep creating more DIY projects like this wallpaper scraps art tutorial. Thank you so much for your support — I truly appreciate it! 💛
Why You’ll Love This Wallpaper Scraps Project
- Zero waste: Give new life to remnants that would otherwise end up in the trash.
- Customizable: Match your existing decor or create a bold statement piece.
- Inexpensive: Most supplies are things you probably already own.
- Satisfying and meditative: Weaving is relaxing and the results look impressively professional.
Materials You’ll Need
- Leftover wallpaper (patterned or textured works best)
- Ruler or measuring tape
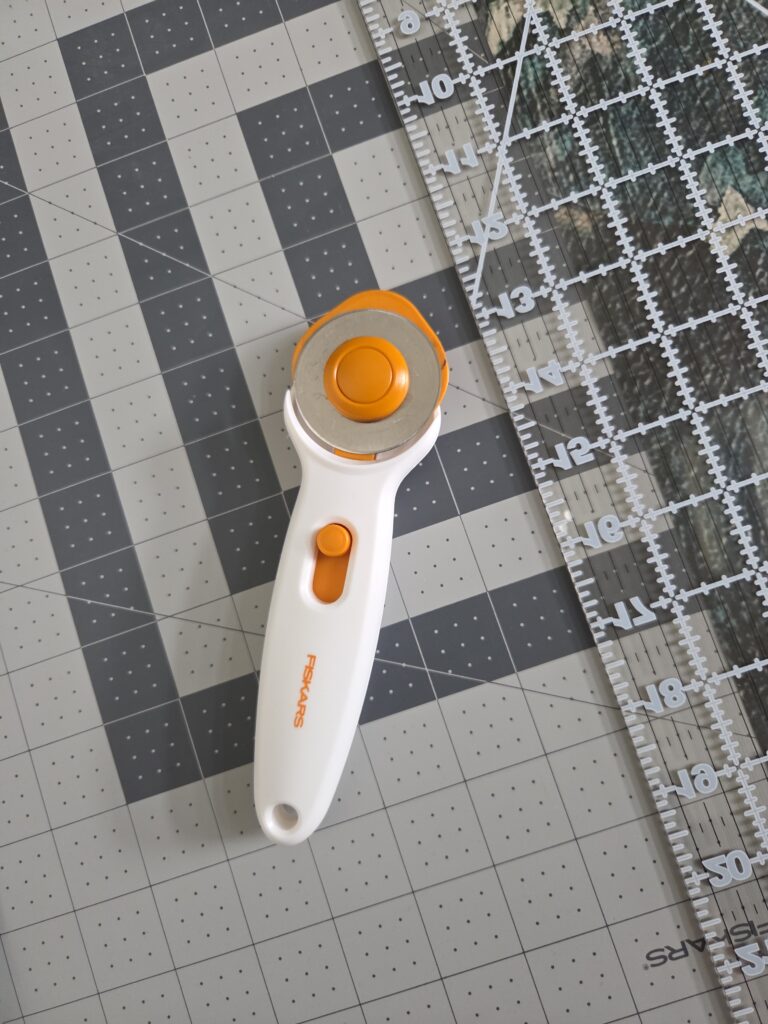
- Scissors or rotary cutter and cutting mat
- Pin board / cork board (or foam board)
- Push pins or T-pins
- Clear packing tape or painter’s tape
- Picture frame (with or without mat)
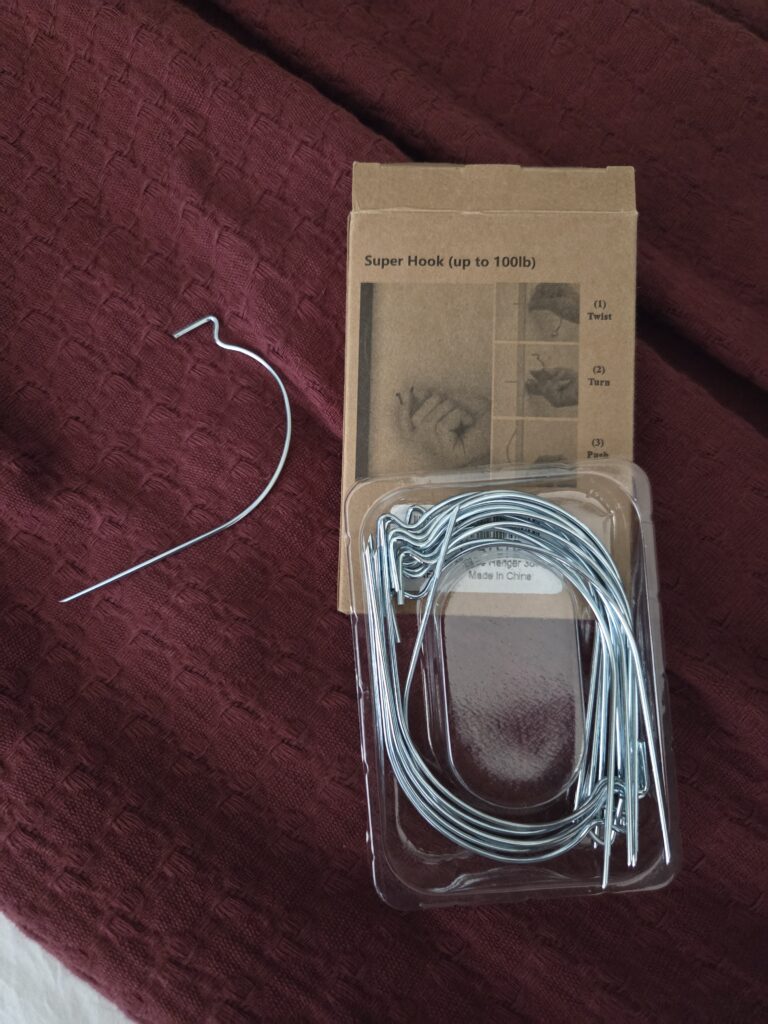
- Super Drywall Hook for hanging your art
- Optional: Cutting board, spray adhesive or glue for extra stability
Step-by-Step Instructions
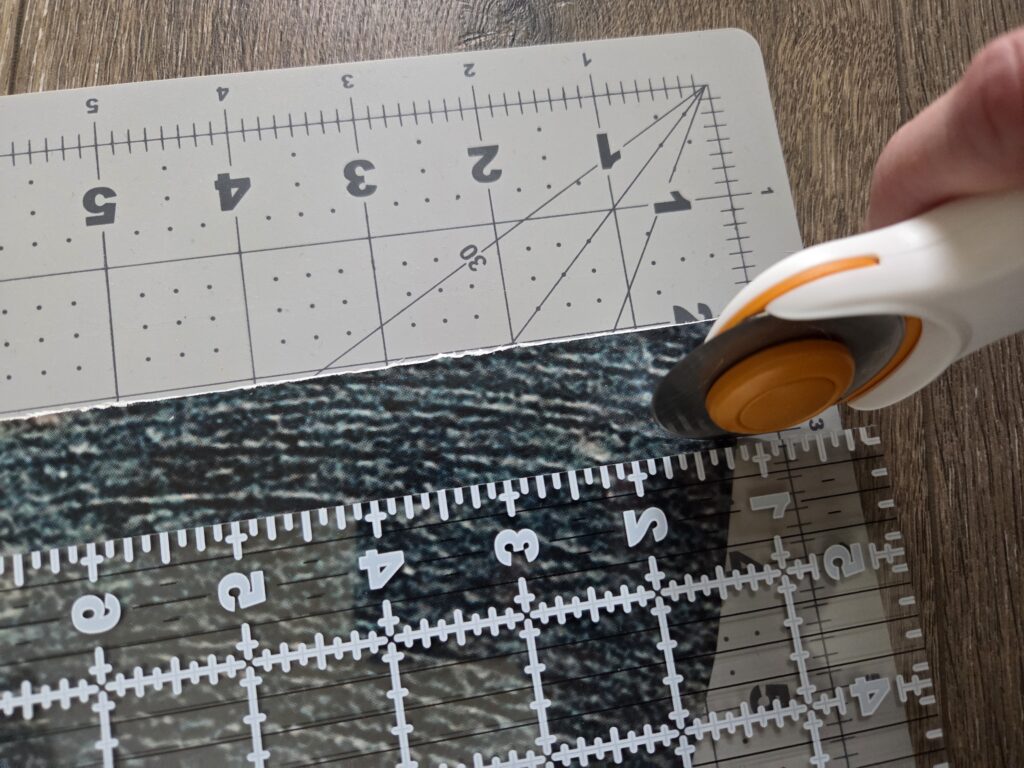
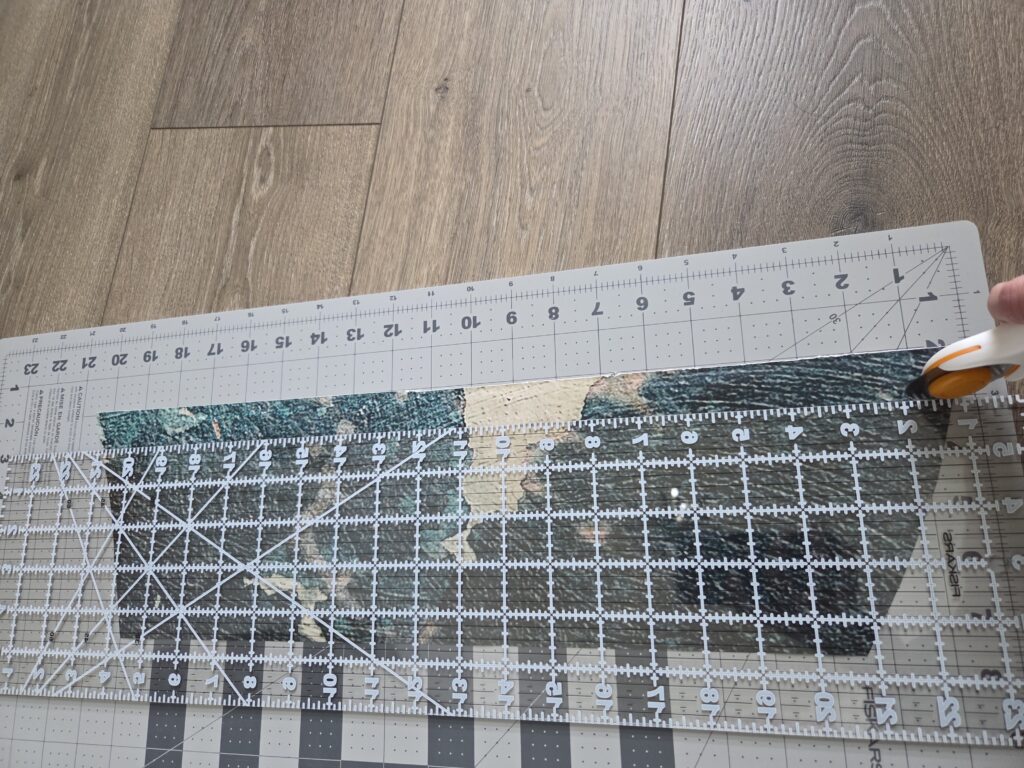
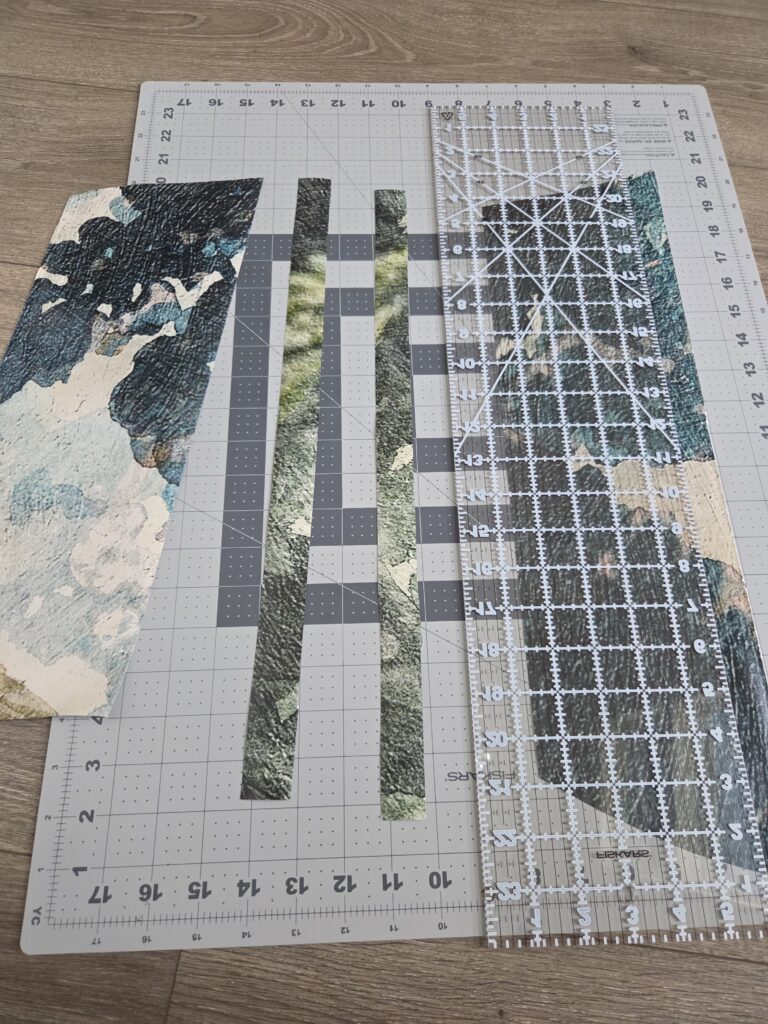
Step 1: Prepare Your Wallpaper Strips Cut your wallpaper into roughly 1-inch wide strips. Aim for consistent width for a cleaner look, but slight variations add organic charm. I had some strips smaller than an inch and some bigger, and I love the way it came out. Cut them longer than your intended final piece so you have room to work.
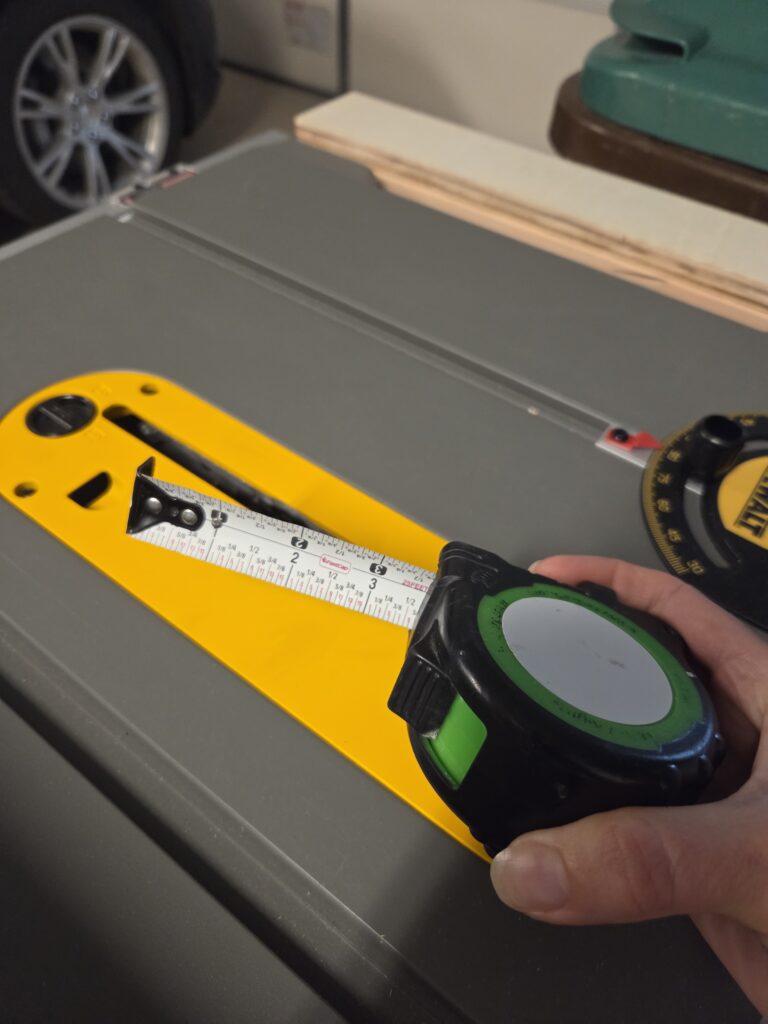
This is where having a cutting mat and rotary cutter really shines. It makes it so easy to line up your wallpaper for a more consistant width. The rotary cutter cleanly and quickly cuts the wallpaper. These tools make this process go a lot faster than measuring with a simple ruler, make your pencil line, and then cut with a scissors.
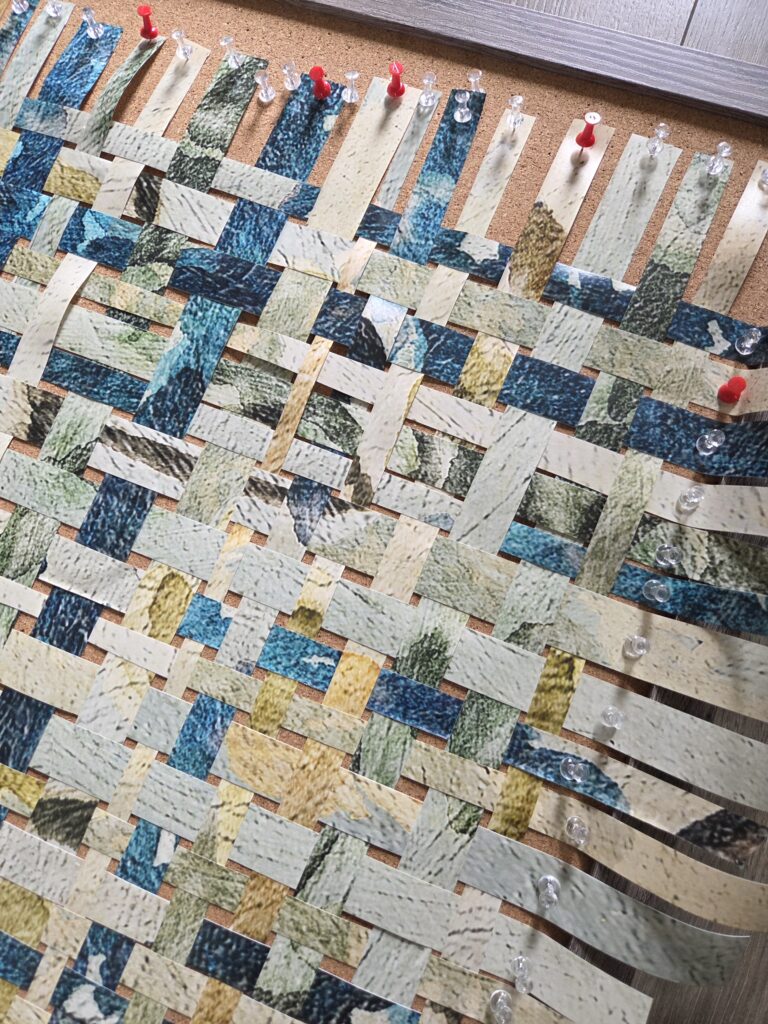
Step 2: Set Up Your Weaving Board Place a pin board or cork board on a flat surface. Use push pins to secure the first set of vertical “warp” strips. Space them evenly—about 1/2 inch apart works well. Keep them taut but not stretched. You can alter the spacing at the end. No need for perfection at this point.
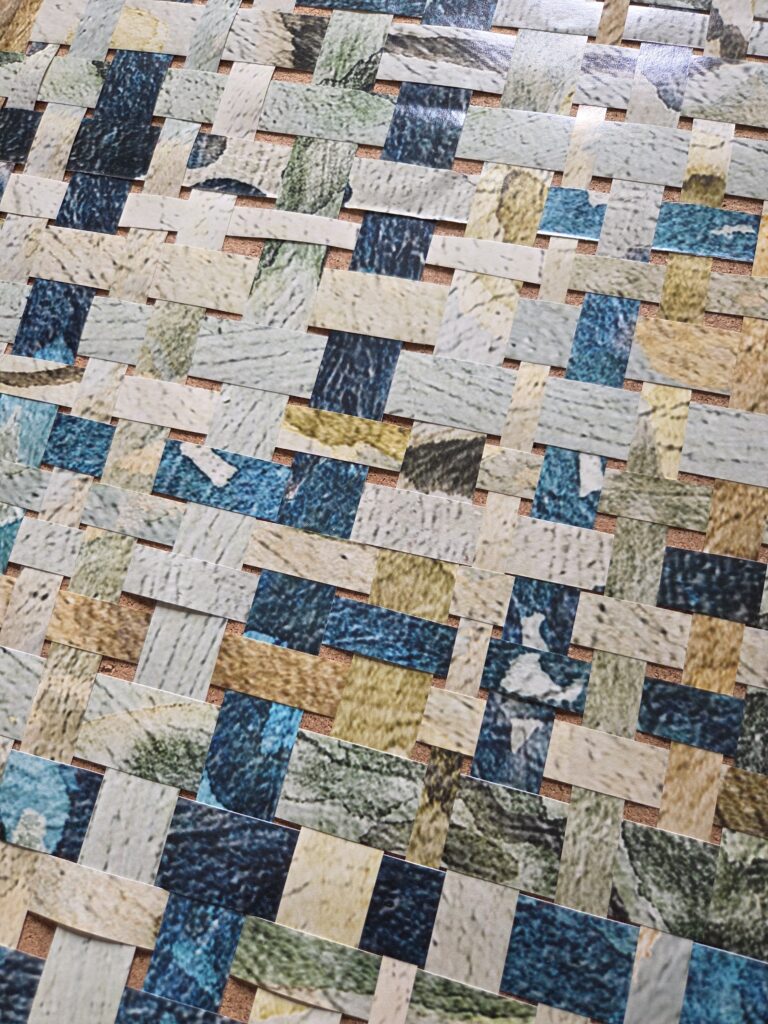
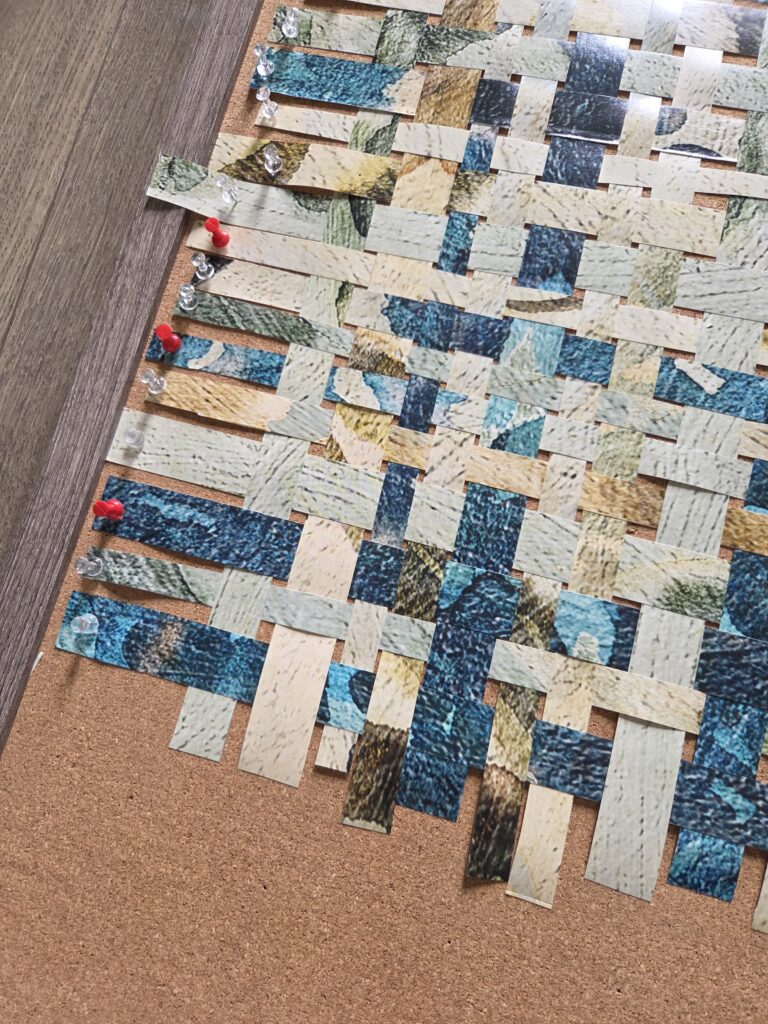
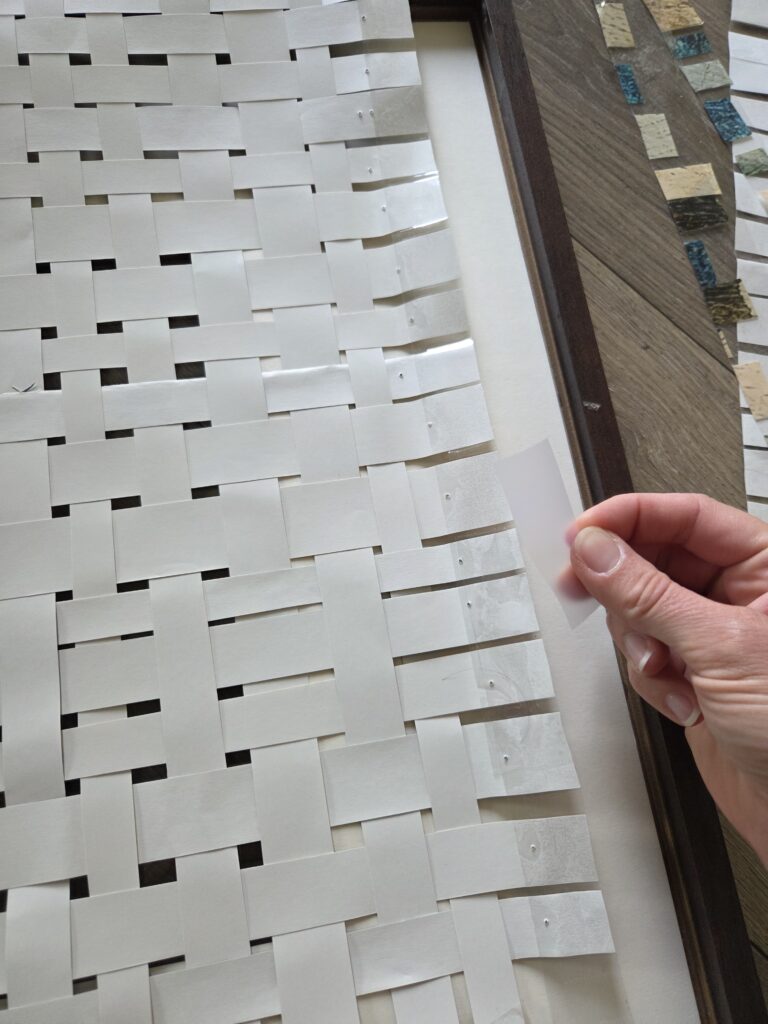
Step 3: Start Weaving Take a horizontal “weft” strip and begin weaving it over and under the vertical strips. Alternate the pattern with each new row (under-over, then over-under) to create a classic basketweave. Gently push each row down to tighten the weave. Make sure to use a push pin on either side of horizontal strip to keep it in place. Play with color, pattern direction, or alternating different wallpaper designs for unique effects. You can always at the end go back and remove strips and replace with a different one if you aren’t happy with the color.
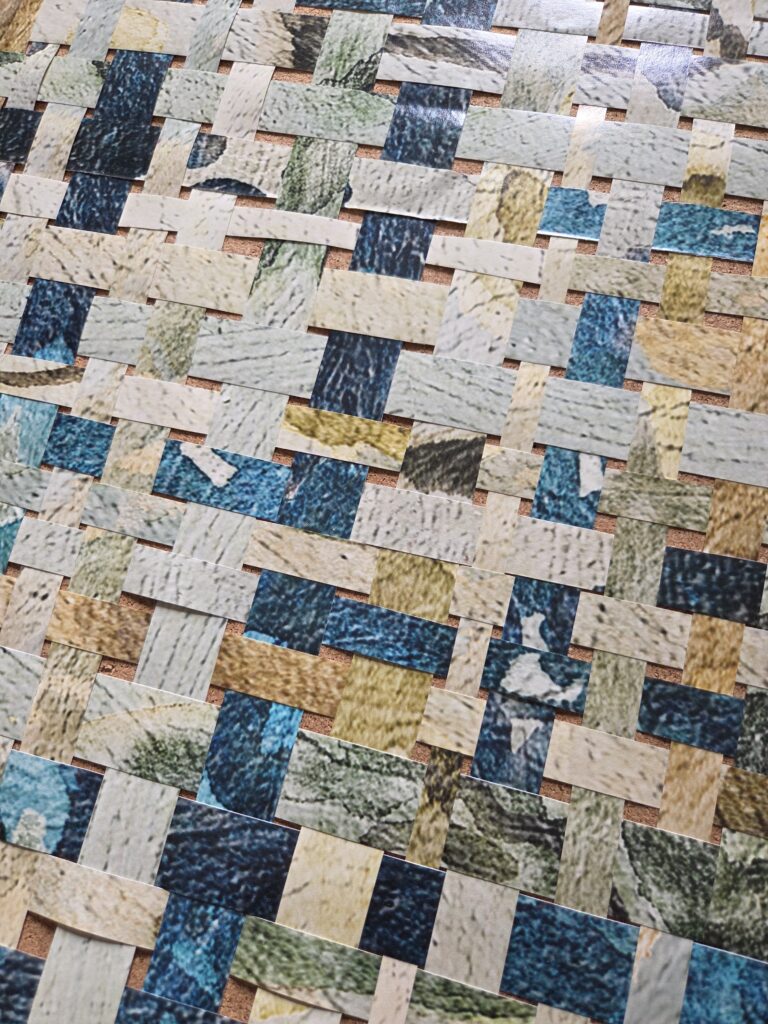
Step 4: Secure the Edges Once your woven section reaches the desired size, carefully tape the edges with clear packing tape on both sides, especially if it’s a large weave. This stabilizes everything before you remove it from the board.
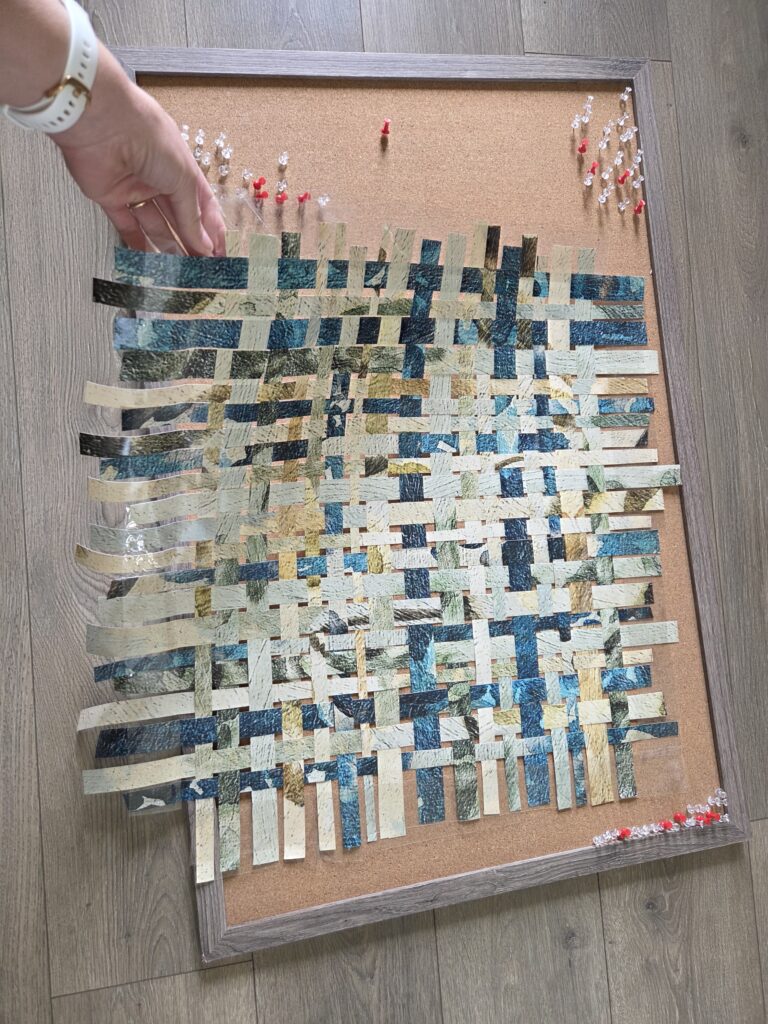
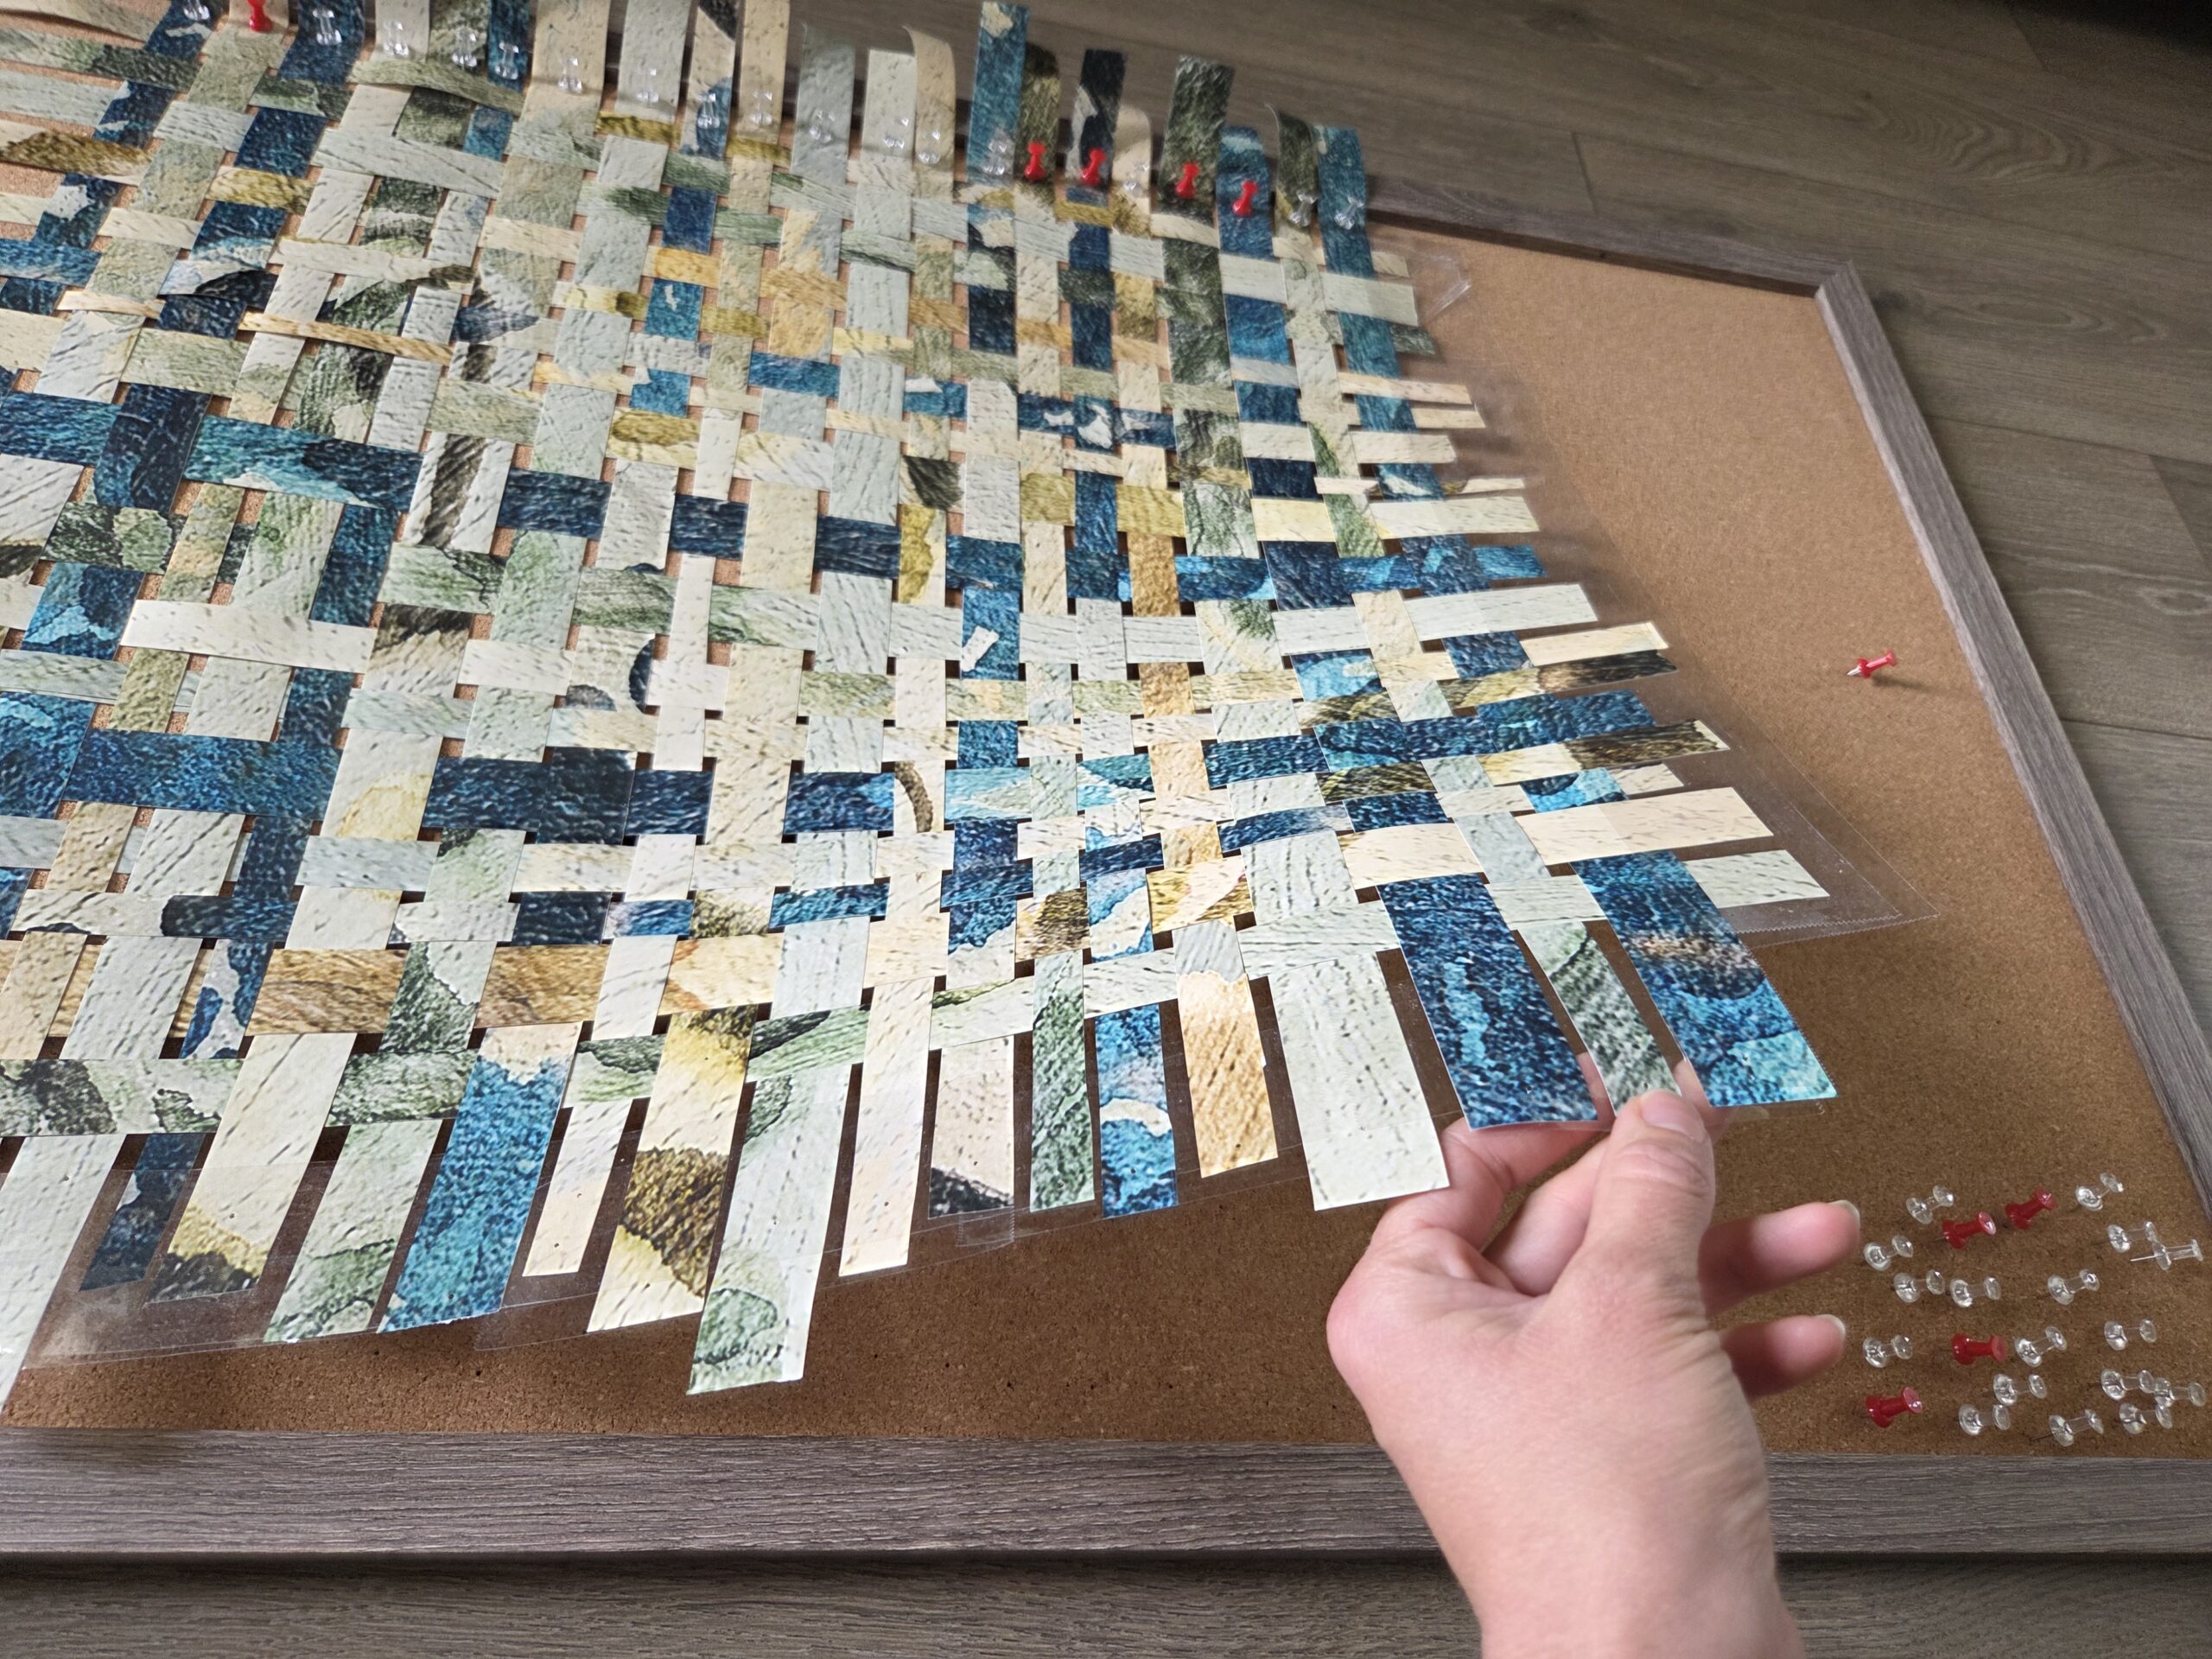
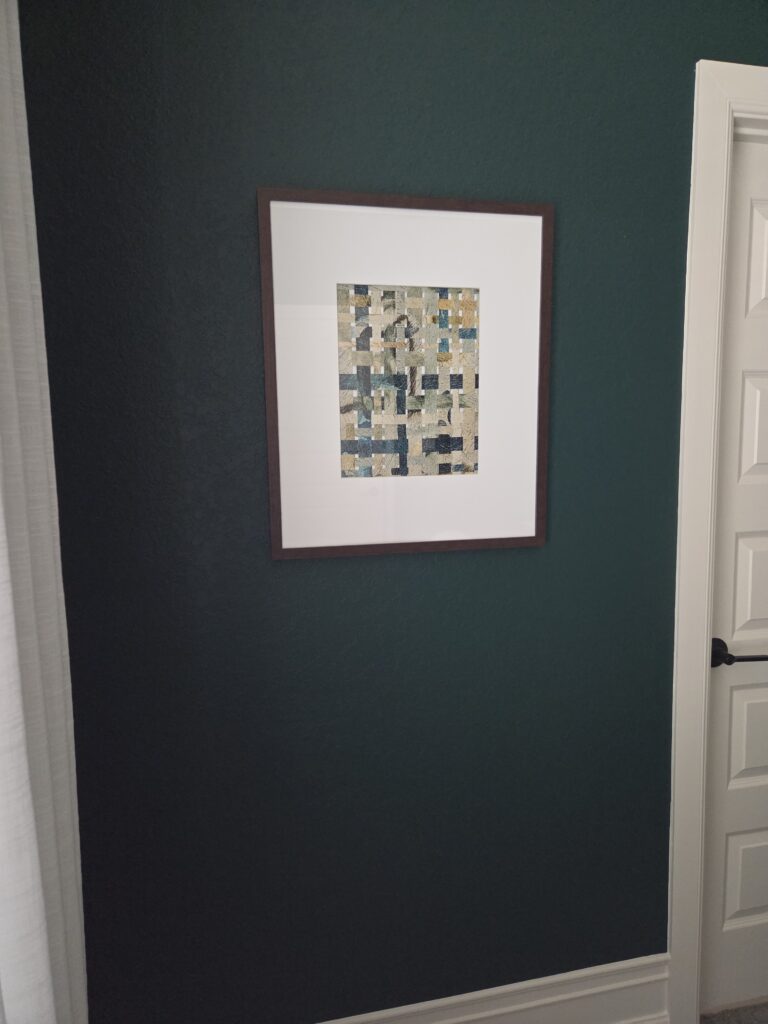
Step 5: Cut to Size and Frame Trim by cutting through the middle of your clear tape to keep the weave from separating. Make sure your weave is bigger than the opening of your picture frame’s mat. You can mount it on a backing board, poster board, or let the weave sit directly in a deep frame. Secure it with acid-free tape or a small amount of glue at the corners.
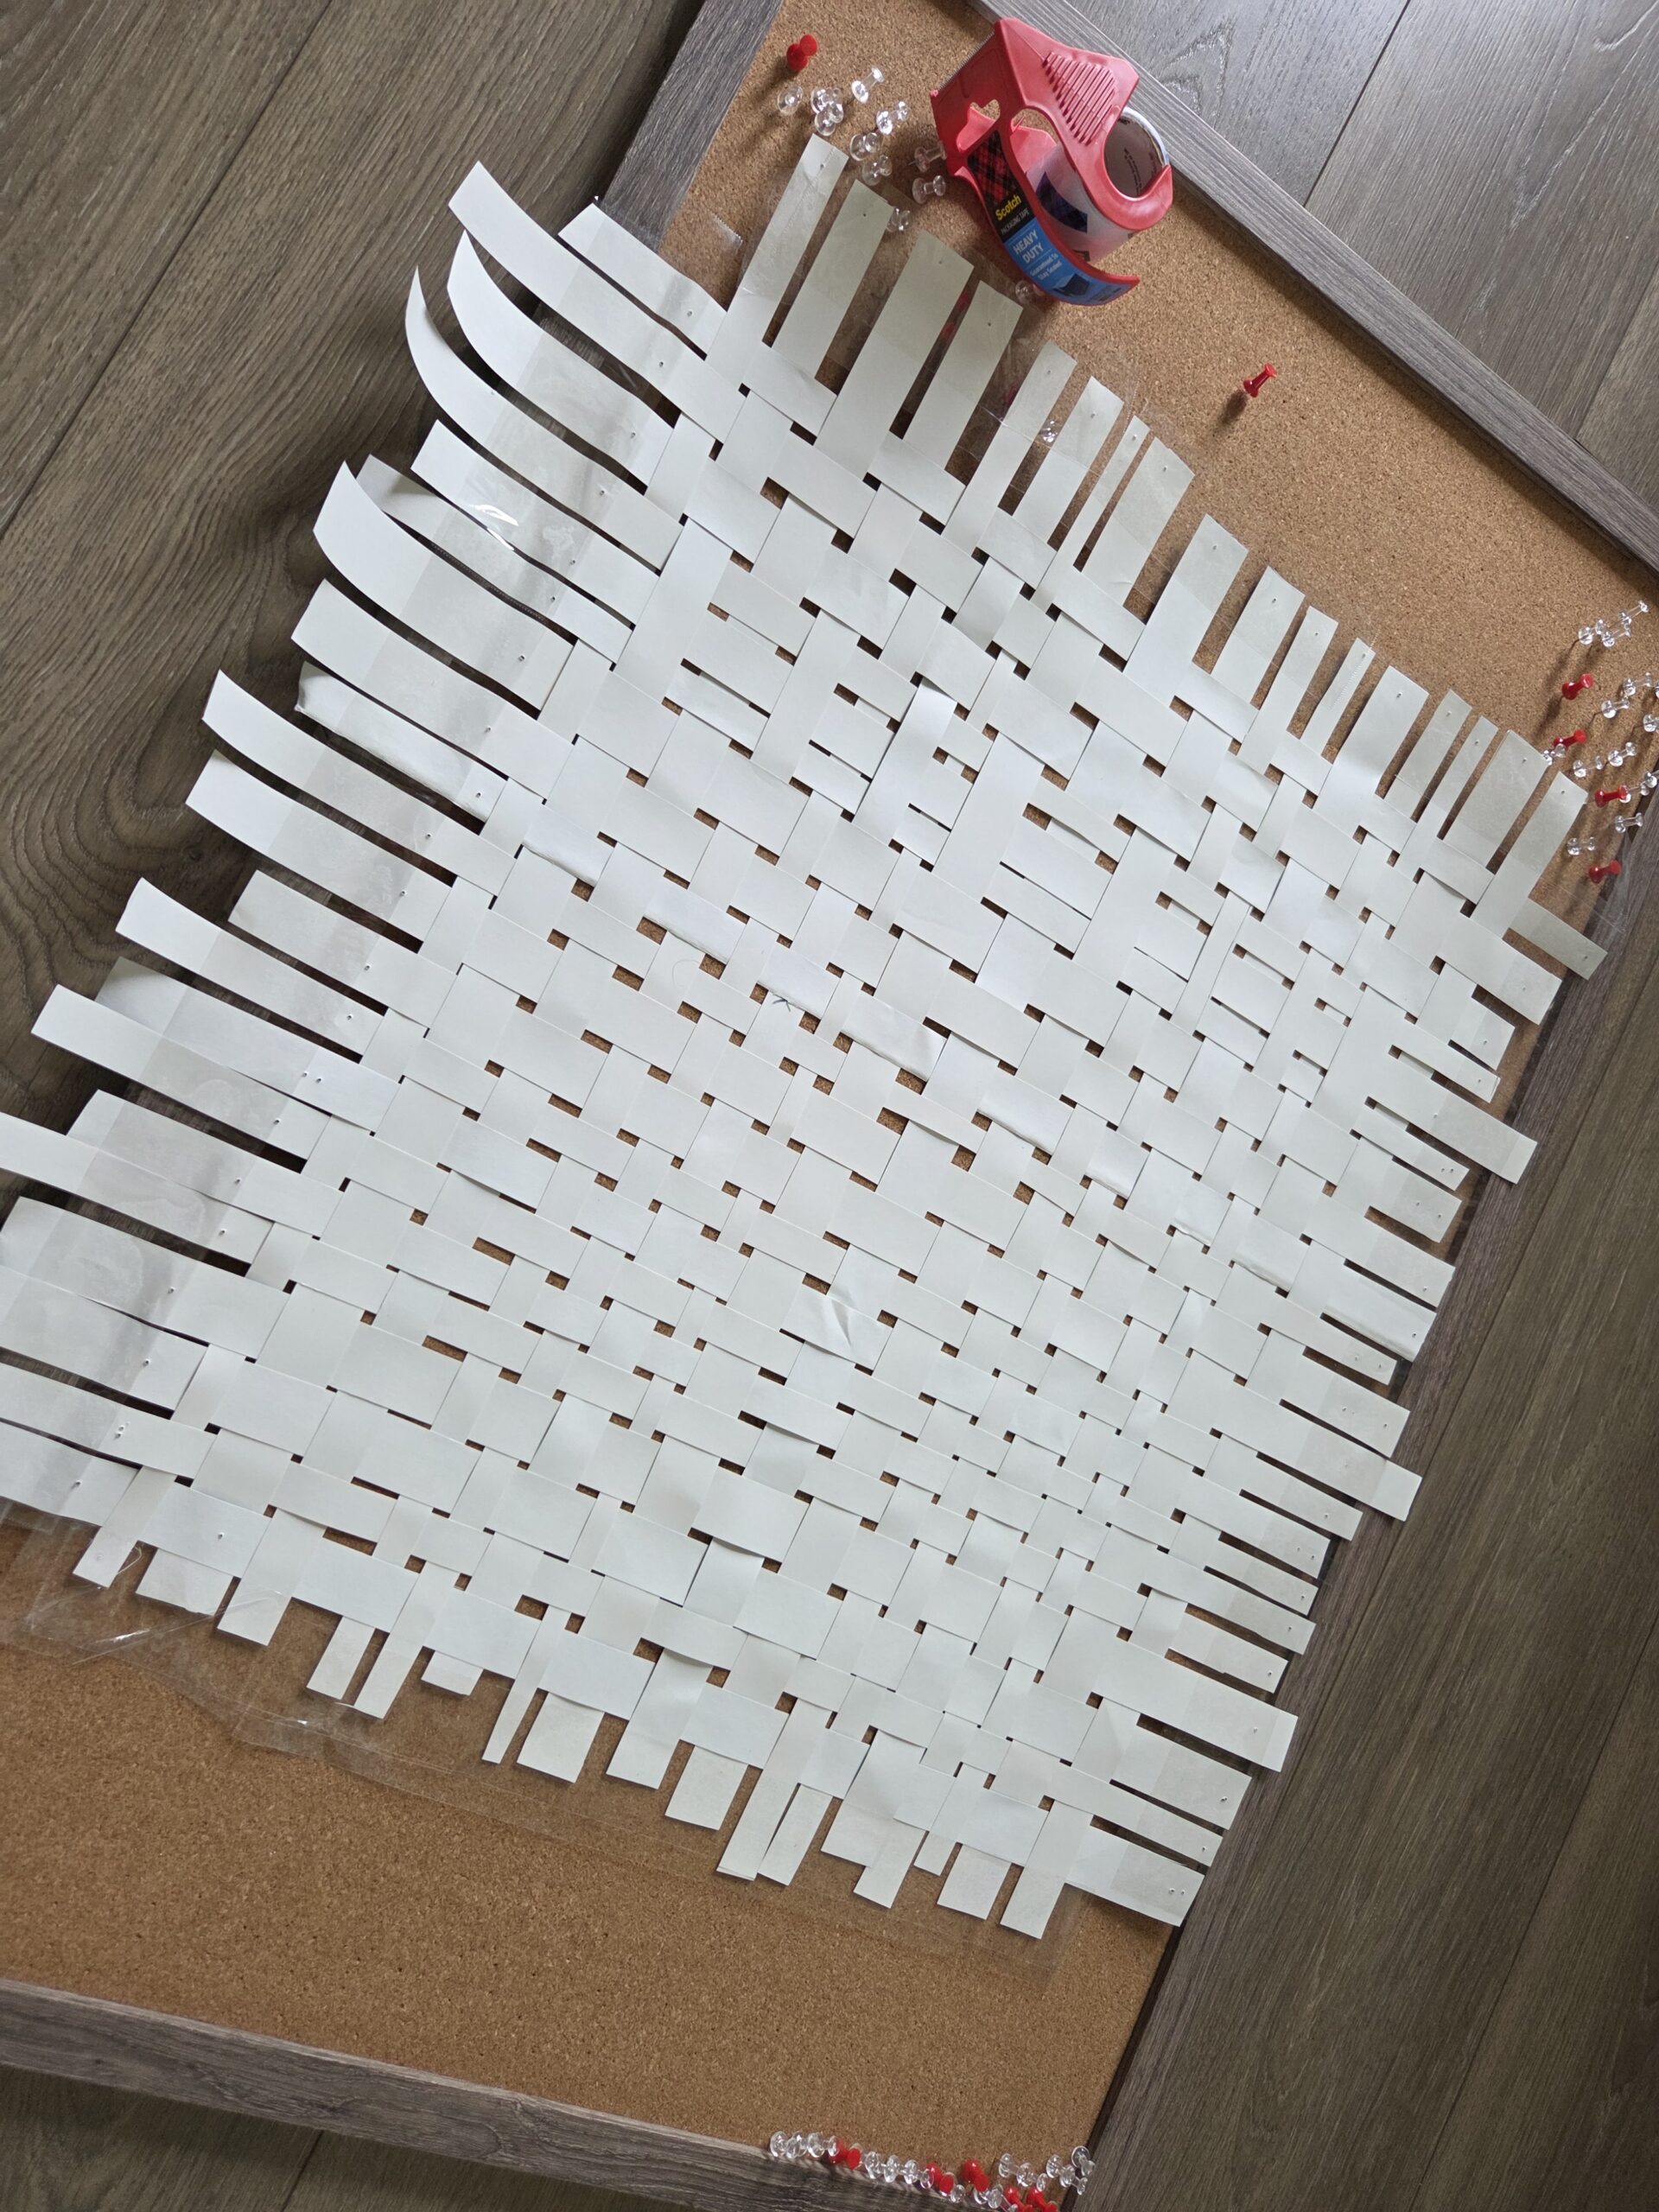
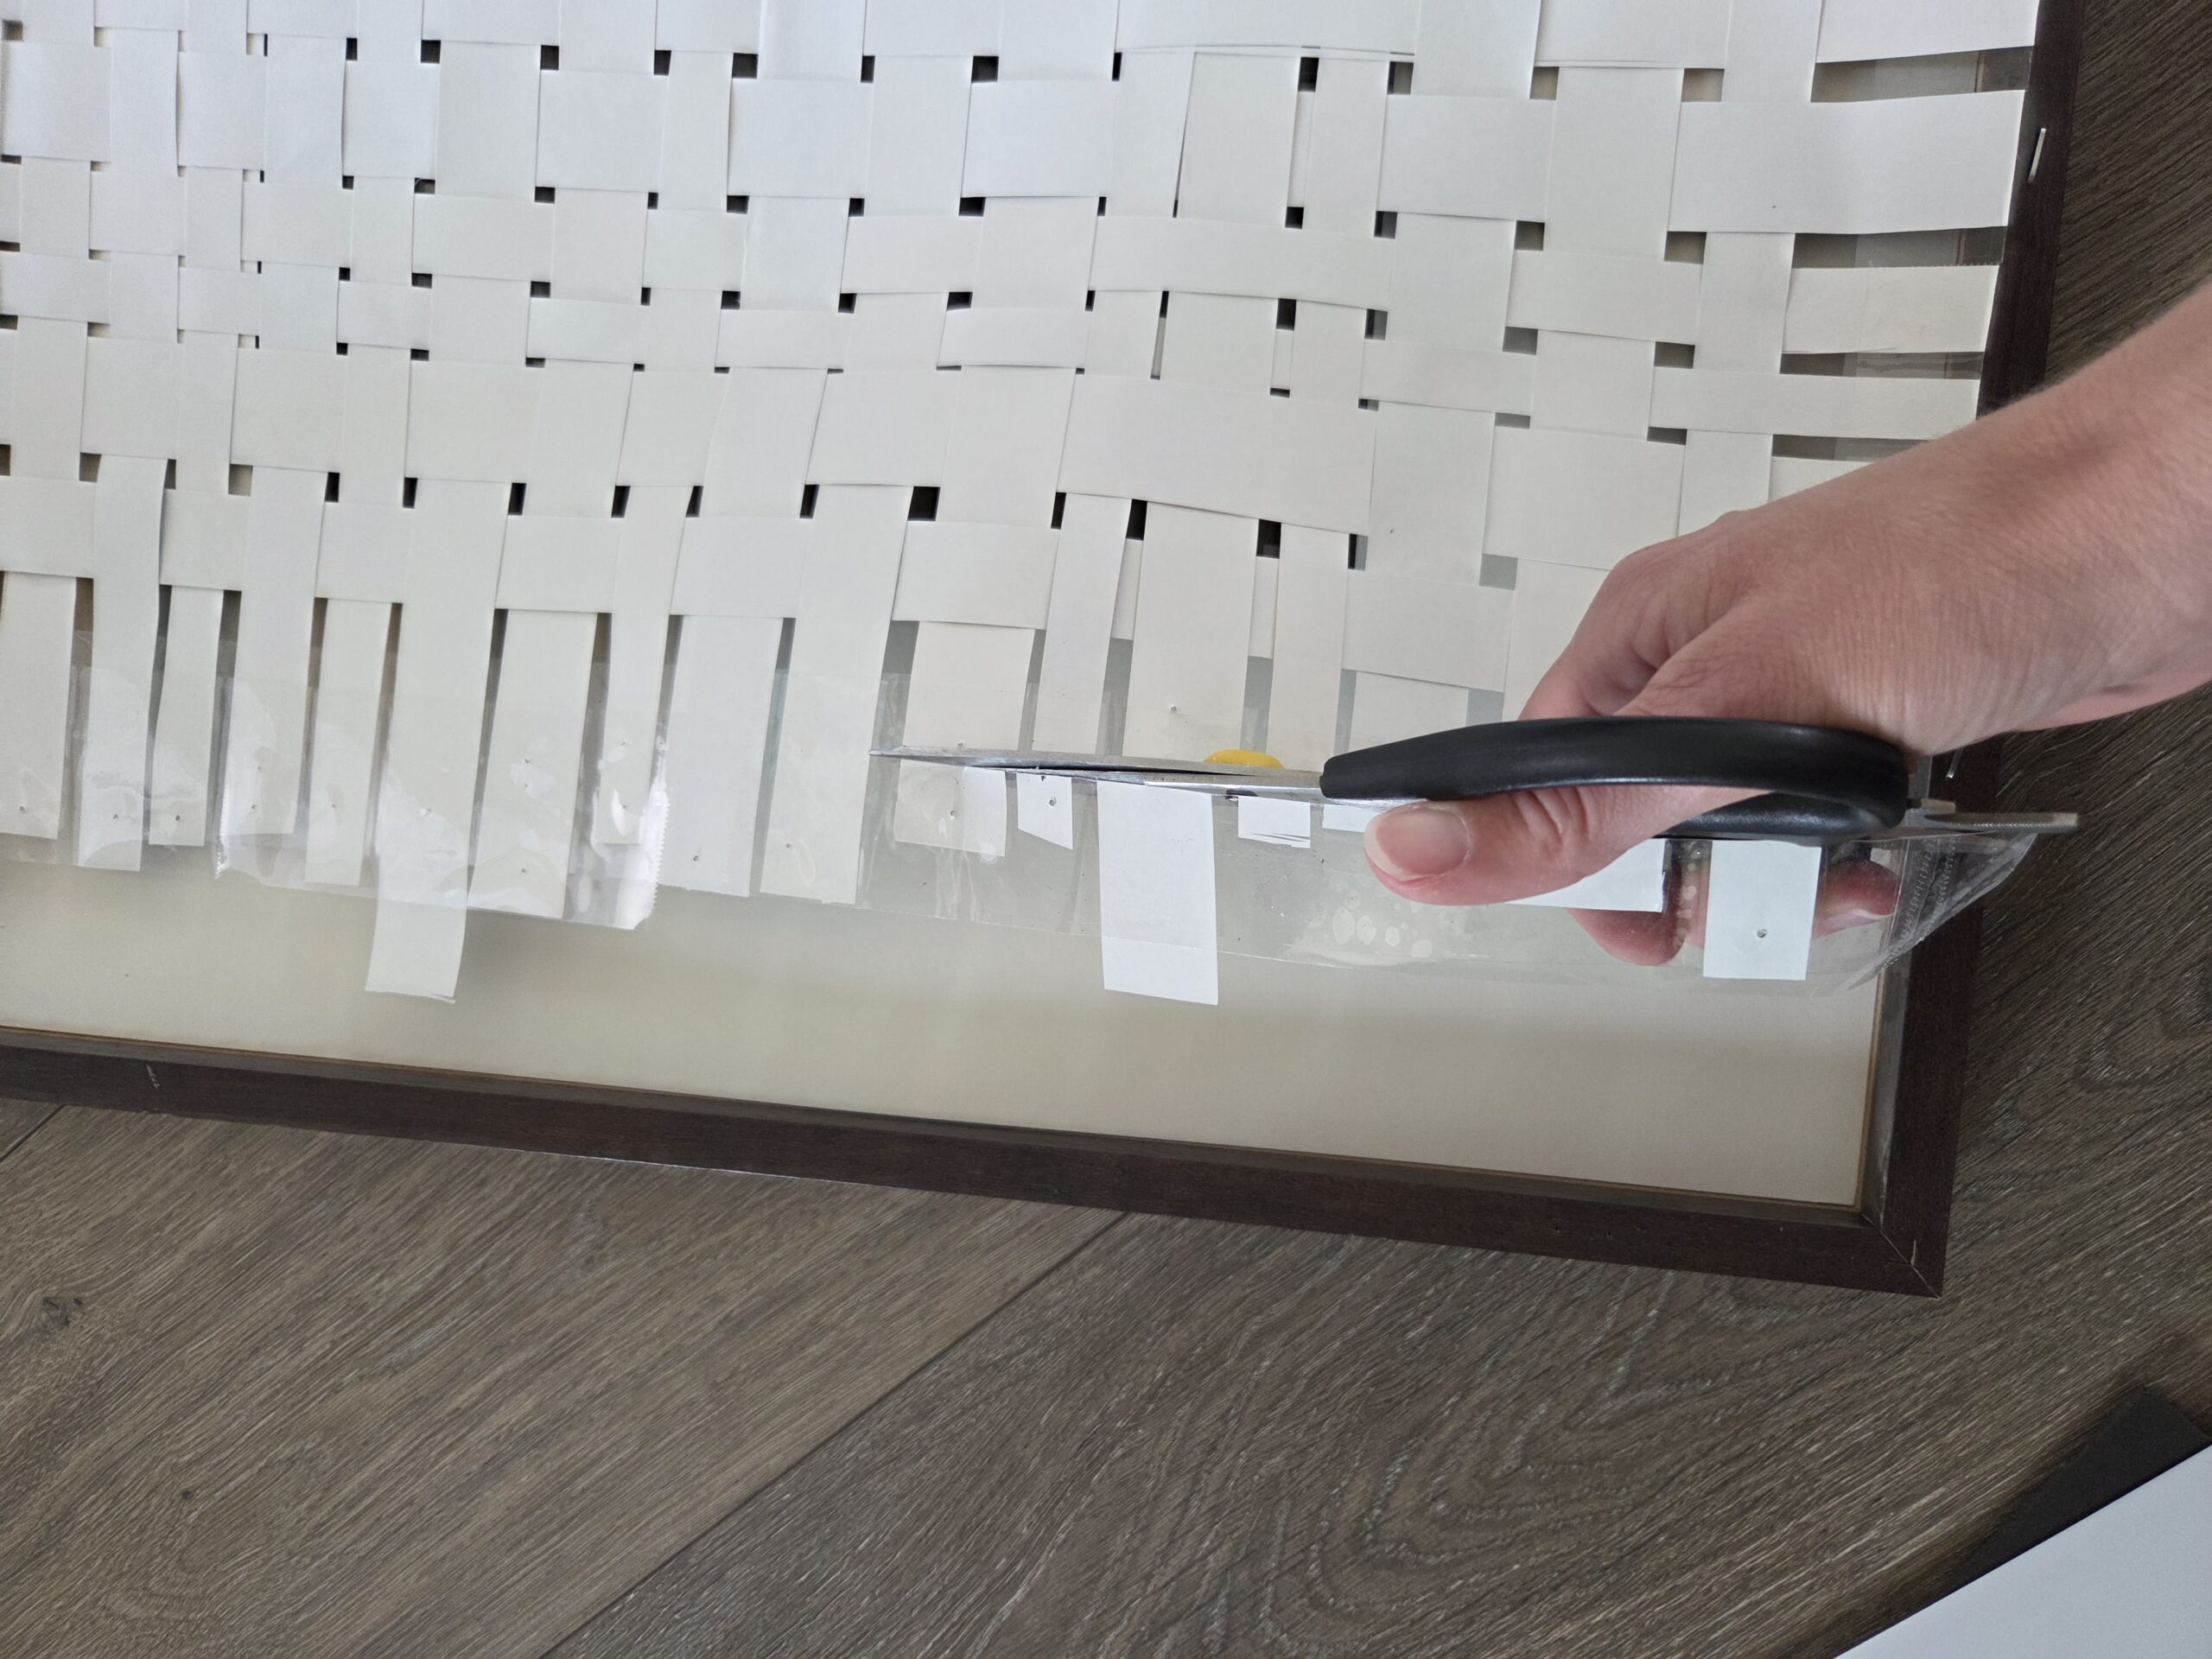
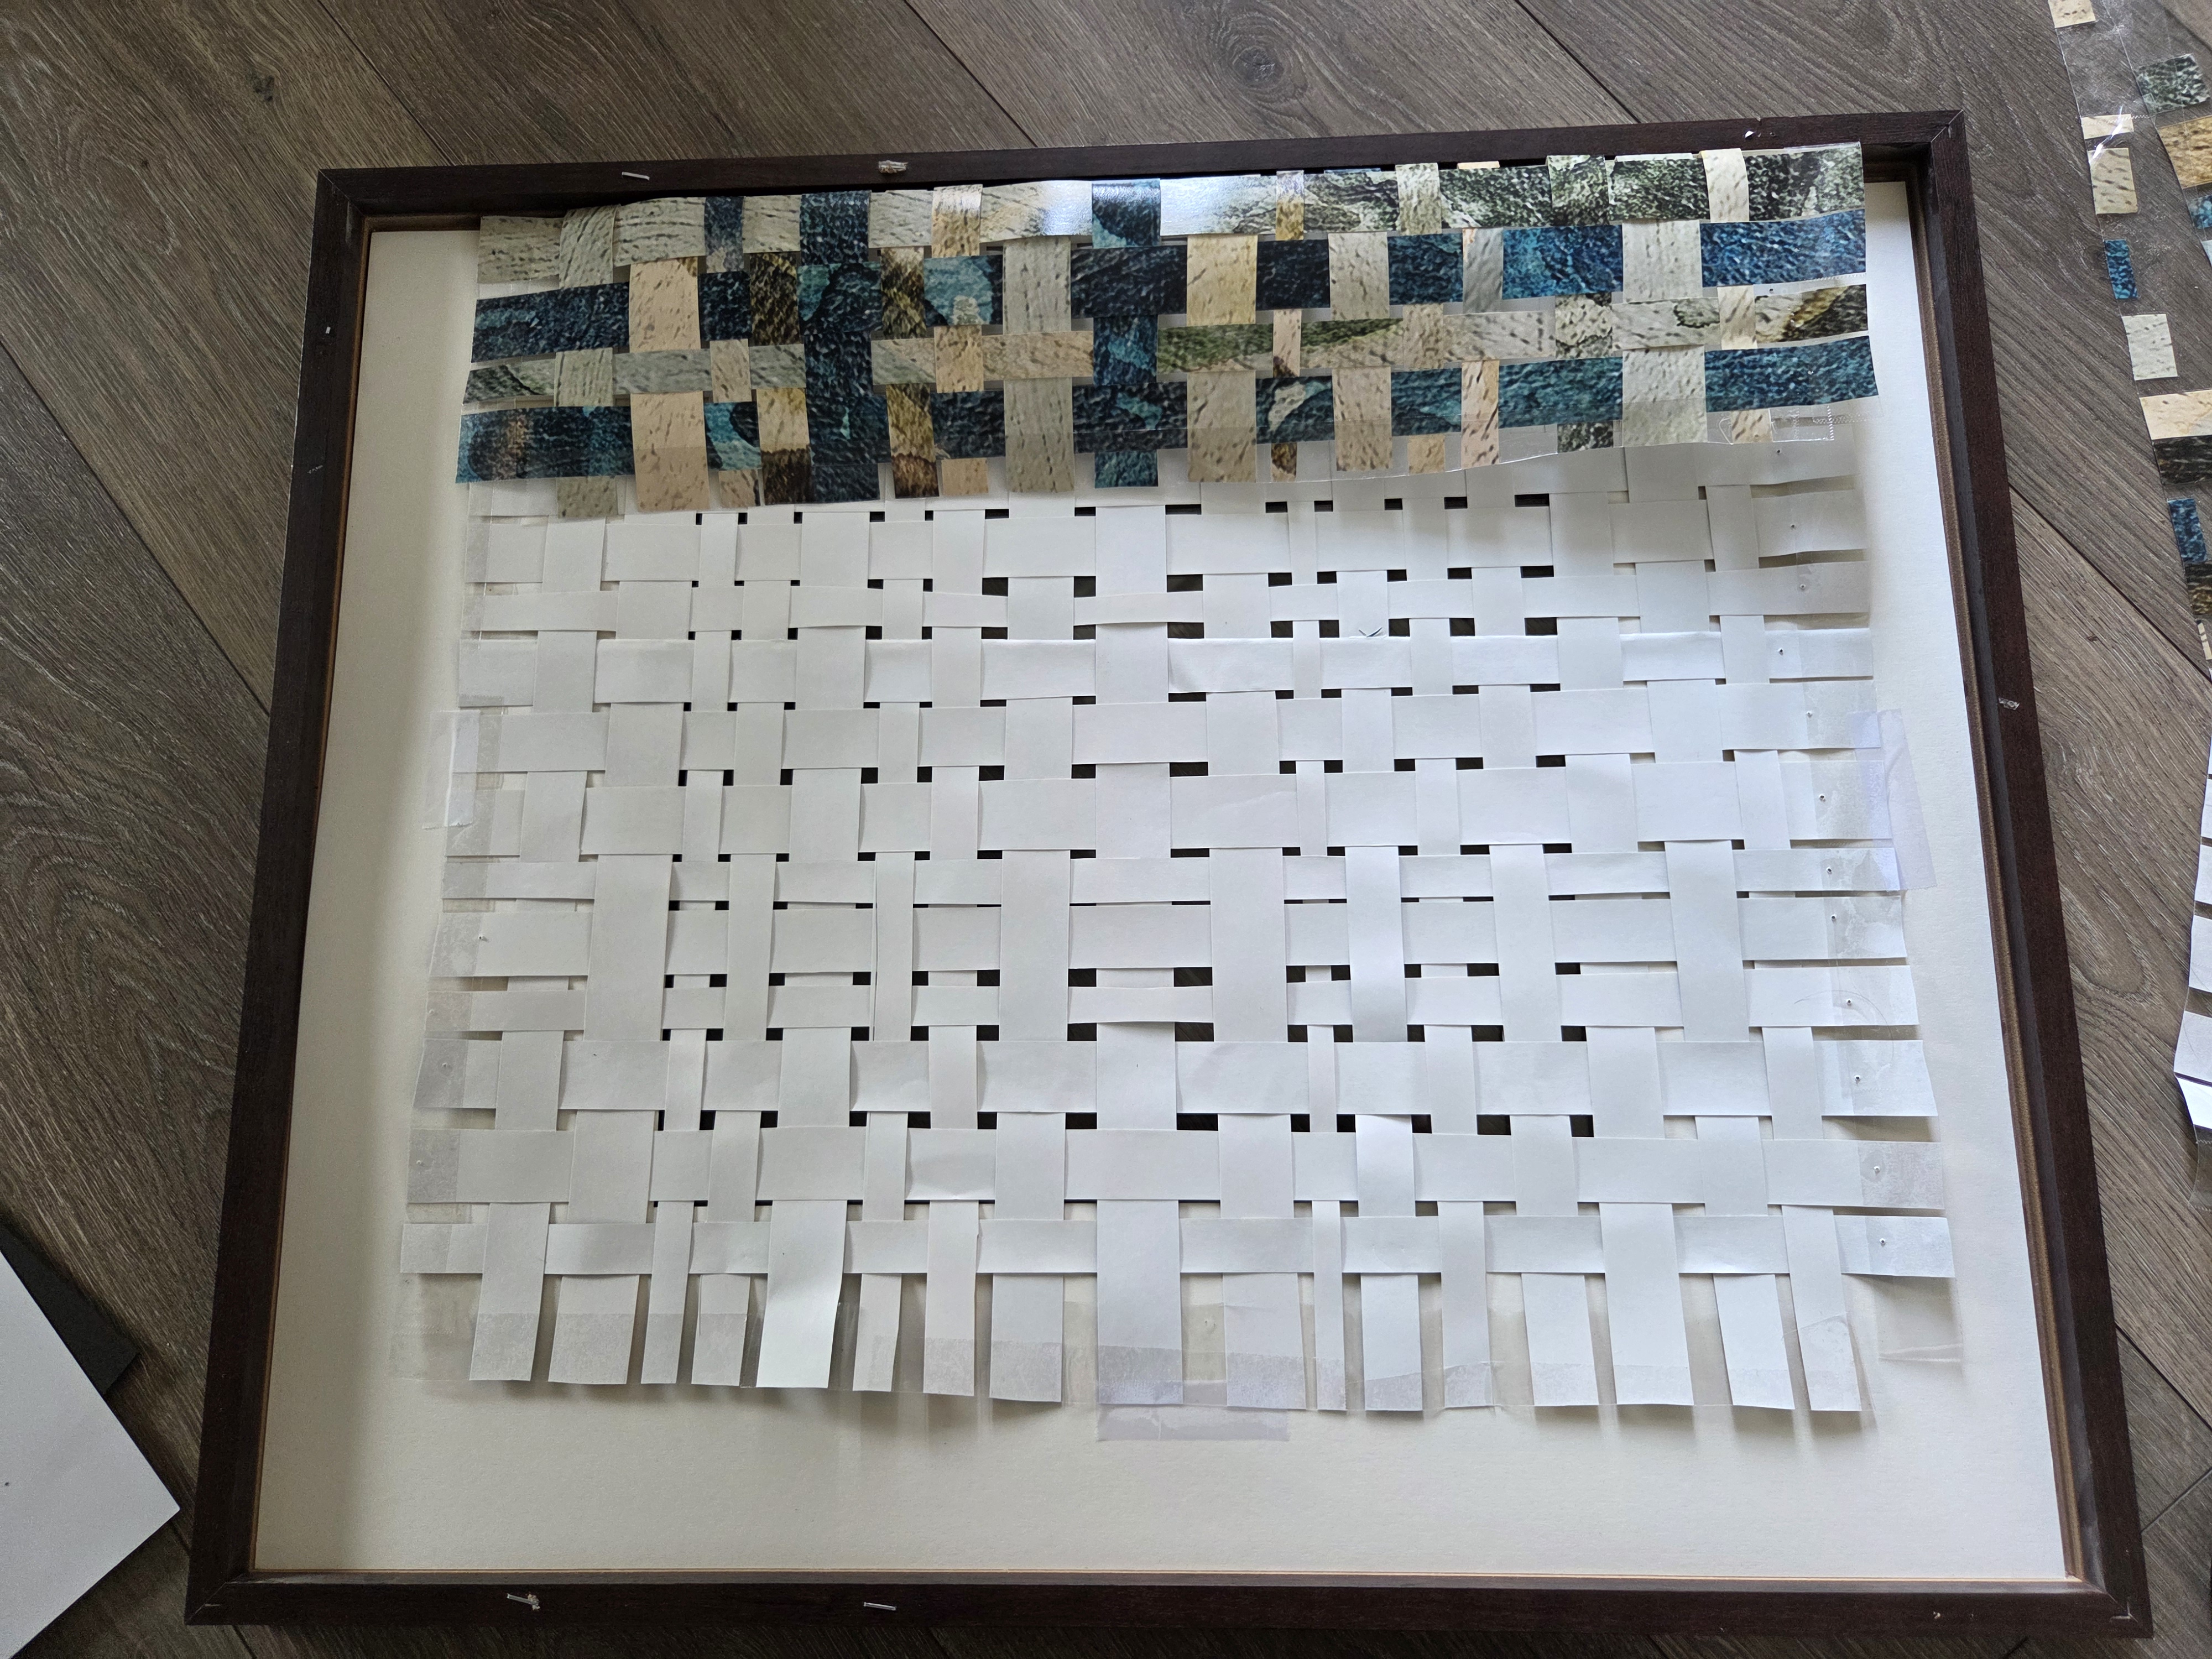
Make sure your stripes are level inside the frame’s mat. Or feel free to turn it 45deg and have the stripes run diagonally! Play around with it until you like the way it looks in the frame.
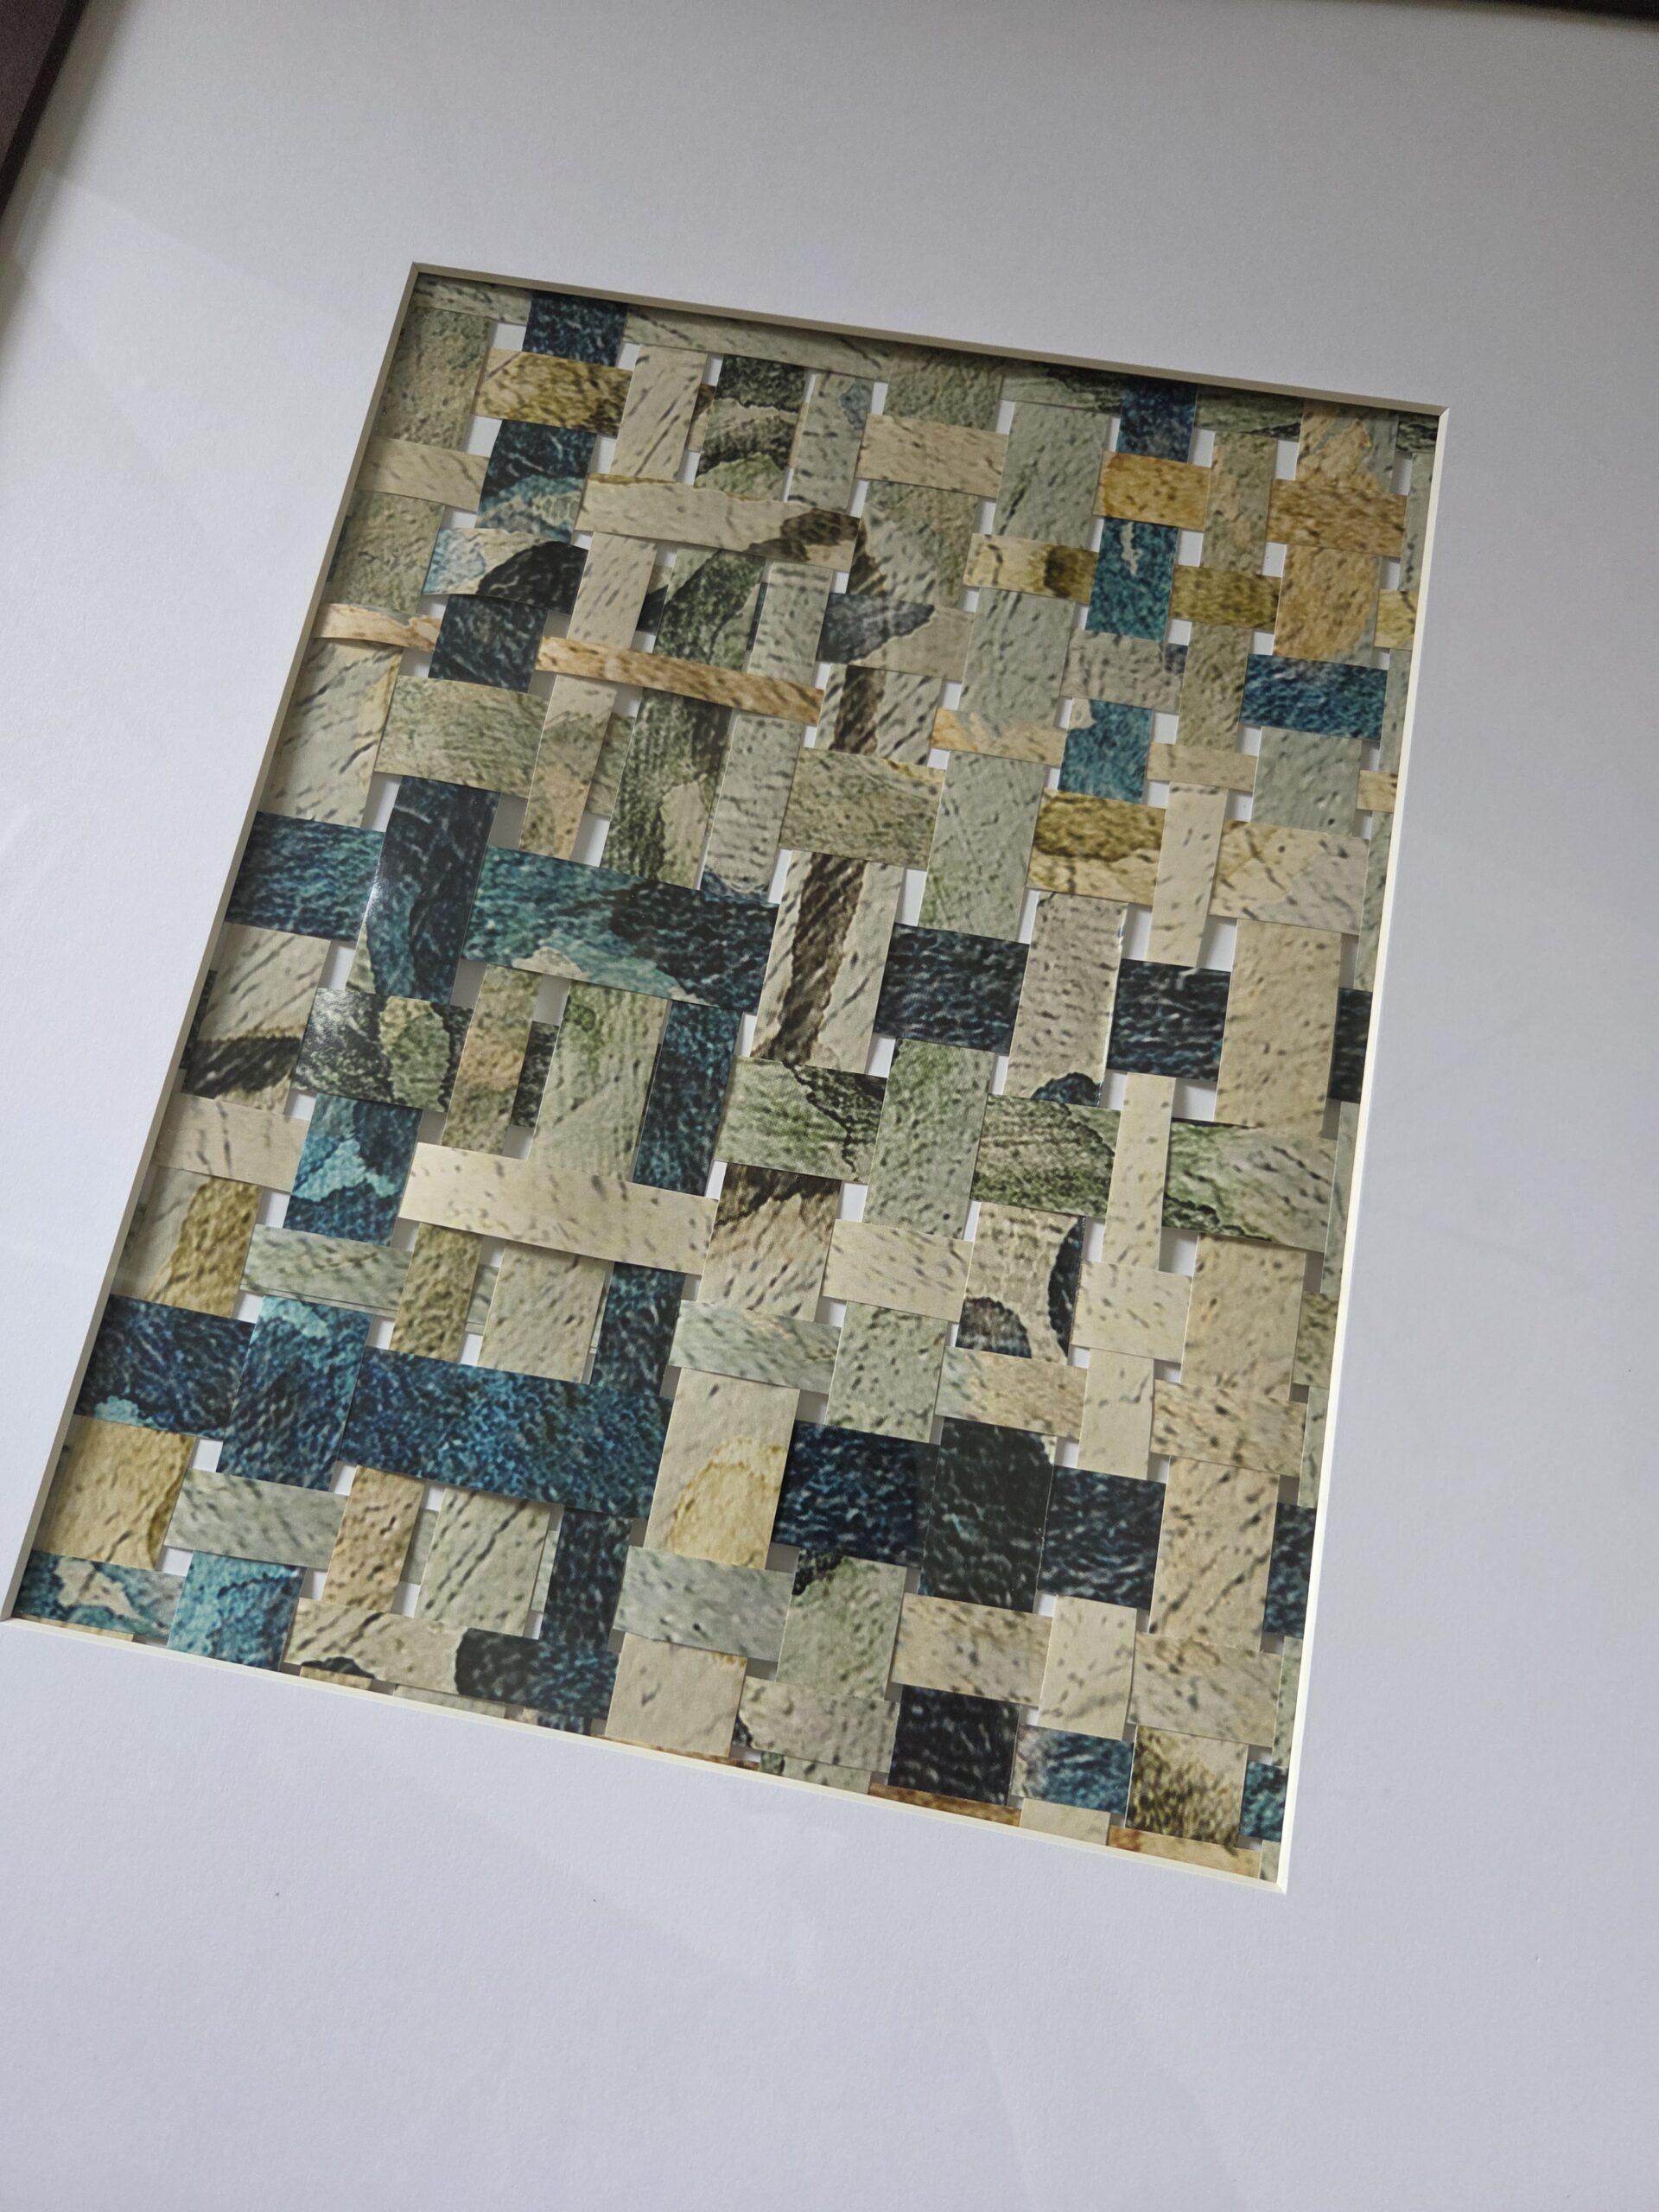
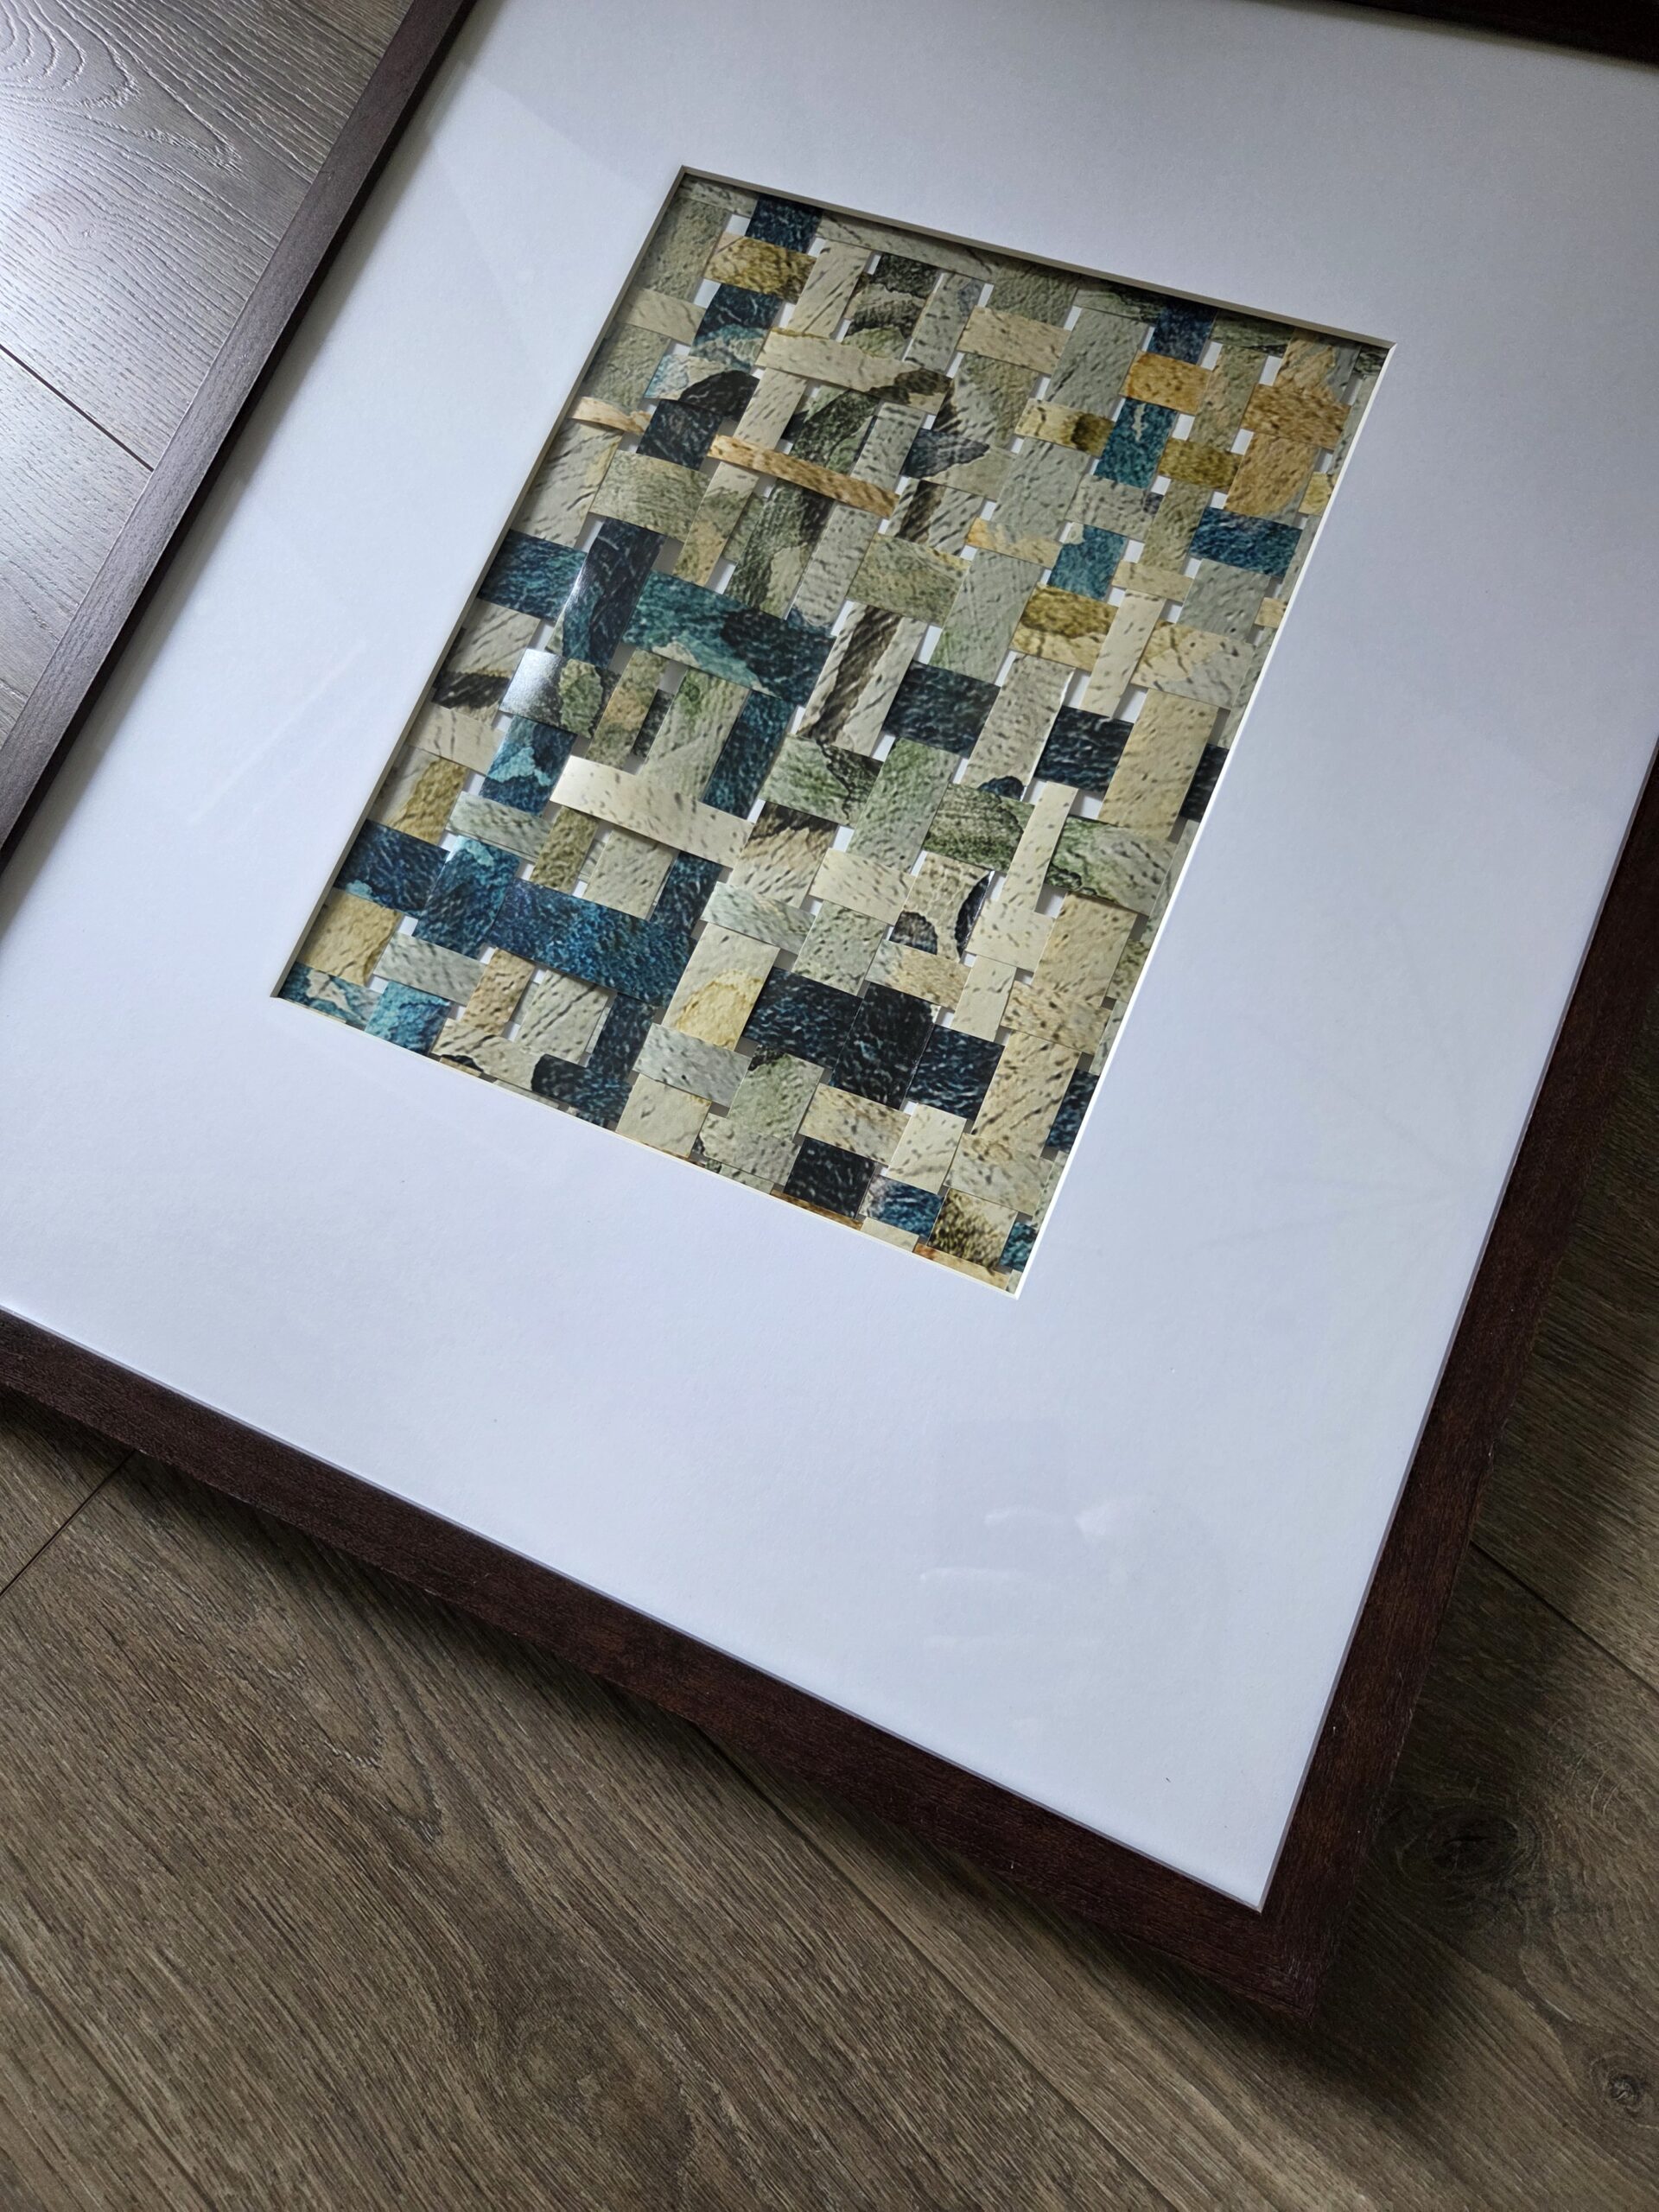
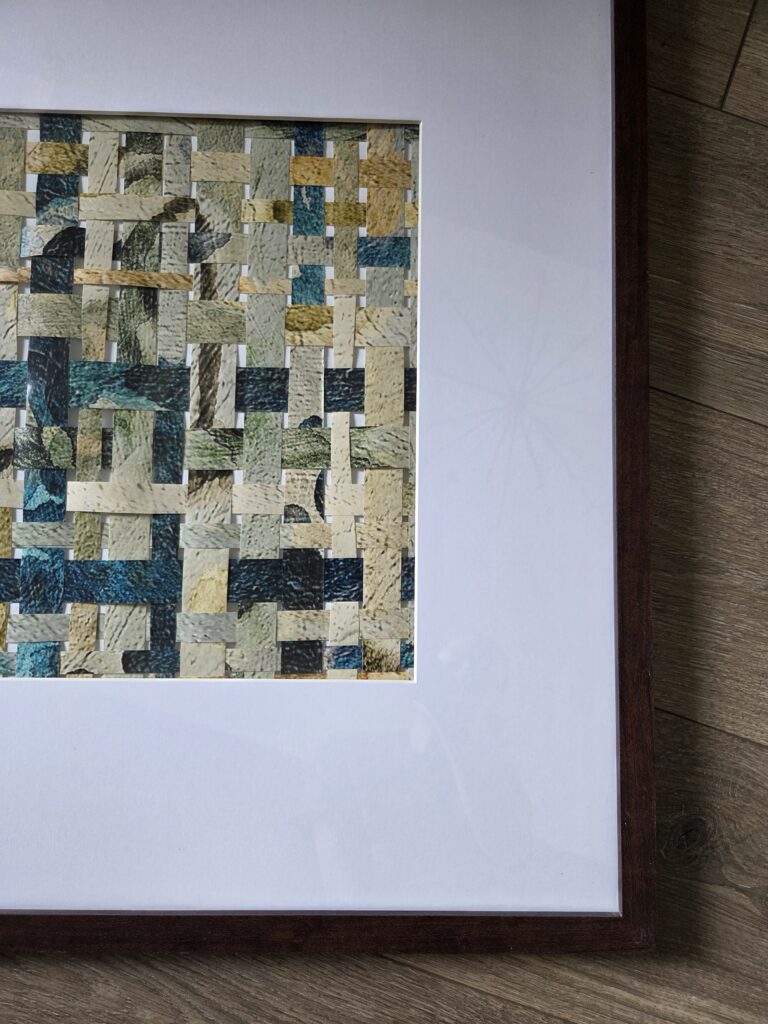
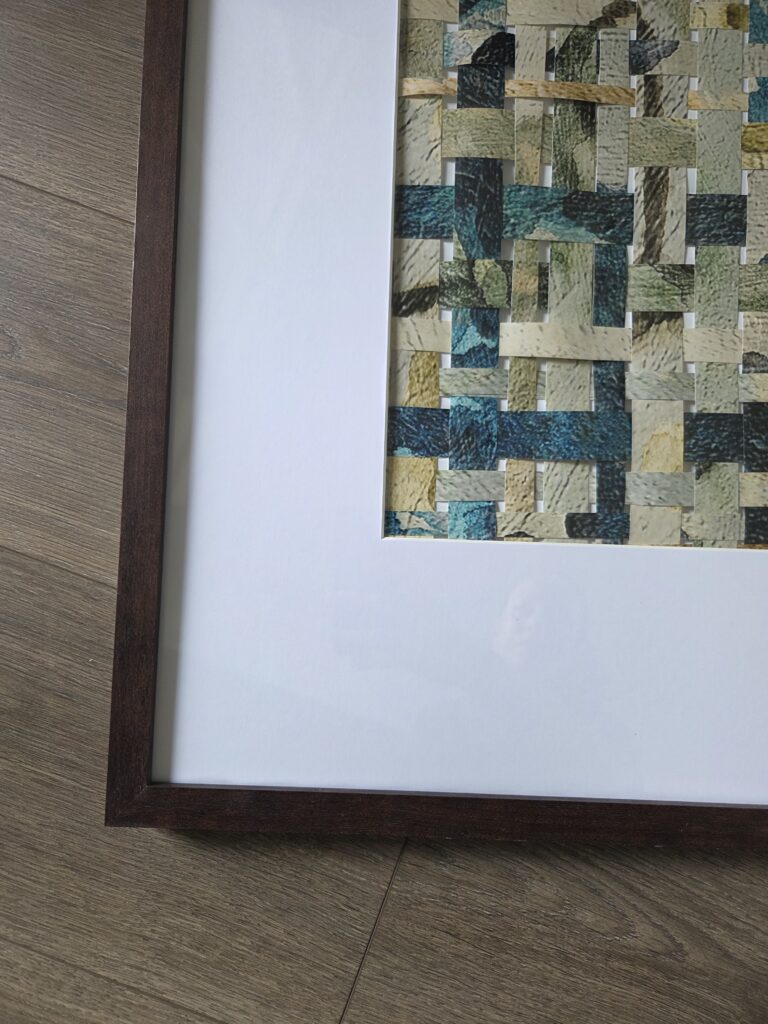
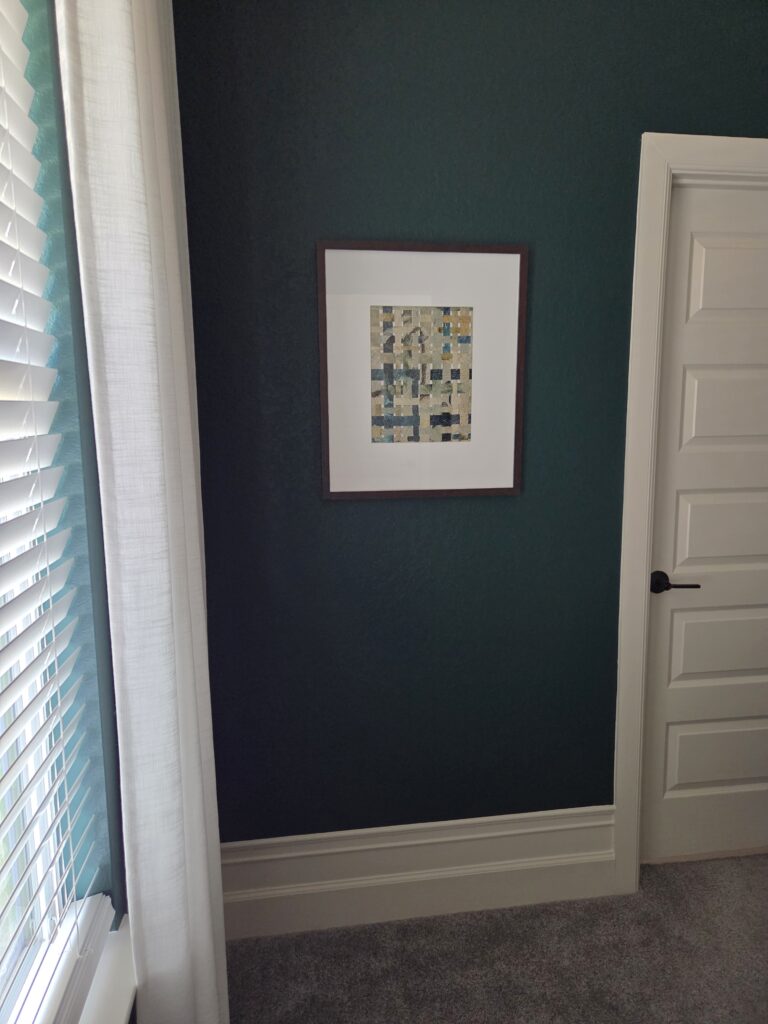
Step 6: Hang your art Use a nail or these amazingly easy Super Drywall Hooks to hang your beautiful art piece.
Pro Tips for Gorgeous Results
- Mix patterns and textures (e.g., floral with geometric) for modern interest.
- Consider the direction of the wallpaper pattern—rotating strips can create surprising effects.
- For larger pieces, work in sections or use a bigger board.
- Seal the finished art with a light coat of matte spray sealer if it will be in a high-traffic area.
- Make smaller versions for gallery walls or gift giving.
- Use wallpaper samples, or paint your own paper to cut into strips
Final Thoughts
Honestly, this was such an easy project I can’t believe I put it off for over a year! Just taking tiny wallpaper scraps and weaving them with my kindergarten basketweave skills, I turned what most considered trash into something beautiful and one-of-a-kind. I’d love to see what you come up with! E-mail me a photo of your finished projects!
If you enjoyed this easy DIY paper weave project, check out my DIY tutorials on How to Paint Door Stripes and DIY Lulu and Georgia Sparrow Wallpaper Dupe Tutorial.